
Two Simple Finishes for Boxes
Why you can't go wrong with shellac or milk paint as your box finish.
 Apr 06, 2021

Boxes are small, delicate things that sit and look pretty. Perhaps you open it once or twice a day to put a ring inside. Most likely you open it much less often. Boxes don’t get handled much, so the finish doesn’t need to be crazy thick and bombproof. Save the bowling alley finish and bar-top epoxy for another day—a day far, far off in the future, so that when you open the can it will be rock hard and unusable. Instead, get some shellac flakes and denatured alcohol. While you’re at it, get some milk paint, too. As far as I’m concerned, these are the only two finishes you need for boxes. Shellac is easy to apply, and it’s actually quite durable. Milk paint adds a pop of color that I just can’t resist. There’s one more thing you need for the finish: a good paste wax, one meant for furniture and not for bowling alleys and butcher blocks. (I’m sure those are great waxes, but just not for furniture.)
The secret to a beautiful finish
Here’s something that I learned a long time ago: The secret to success in any endeavor is always quite mundane and boring. I’ve run a lot in my life. You know the secret to running long distances quickly? It’s running a lot. I mean a lot, like 70 or more miles a week. The secret is hard work. There are no shortcuts.
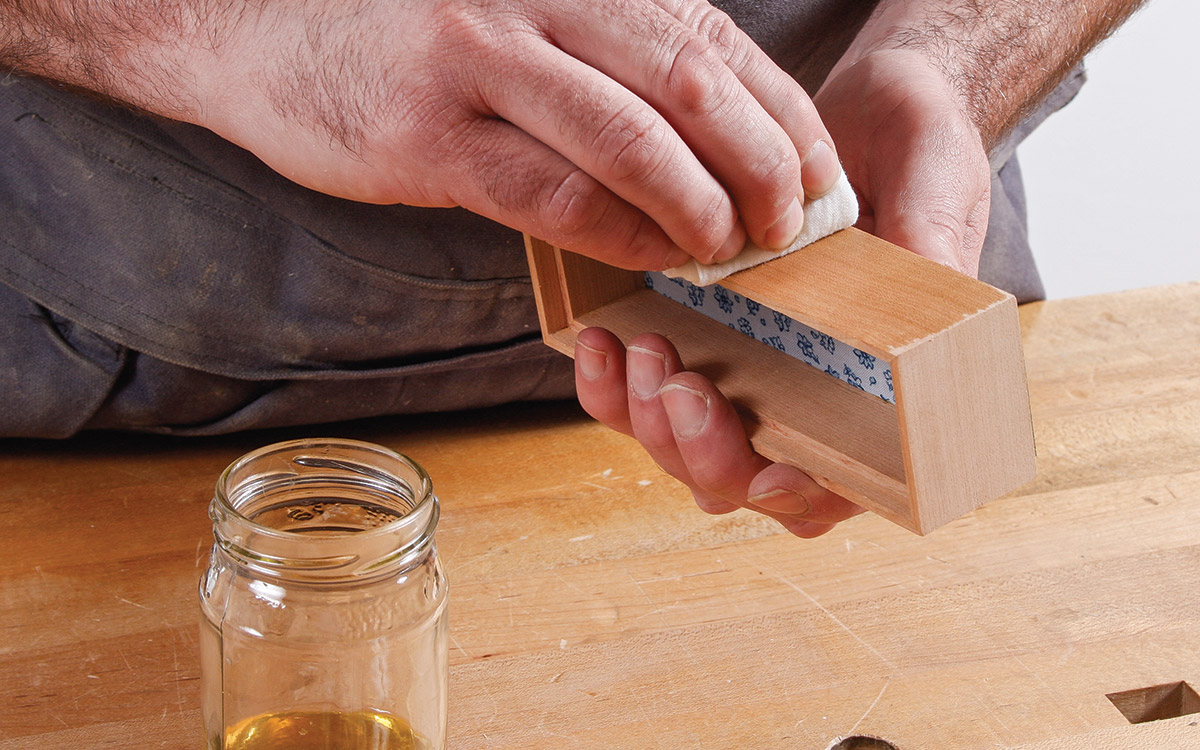
It’s the same with beautiful finishes for boxes and furniture. The secret to a great finish is great surface prep. It’s got to be flawless. And there are no shortcuts here, either. First, I sharpen either my smoothing plane or my low-angle block plane (the blade has a high angle so that the cutting angle is around 45 degrees, which is perfect for smoothing). Then, I plane the surface. This gets rid of machine marks and the like. If there is any tearout, then your plane isn’t really sharp. This is true unless you’re using some insanely figured wood, in which case you might need a higher effective cutting angle. With a bevel-up plane like a block plane, you can just hone the blade with a higher angle and try again.
 |
 |
| 1. Plane the surface to get rid of machine marks. | 2. Sand the surfaces, starting with 320-grit paper and working up as far as 600-grit (for highly figured woods). |
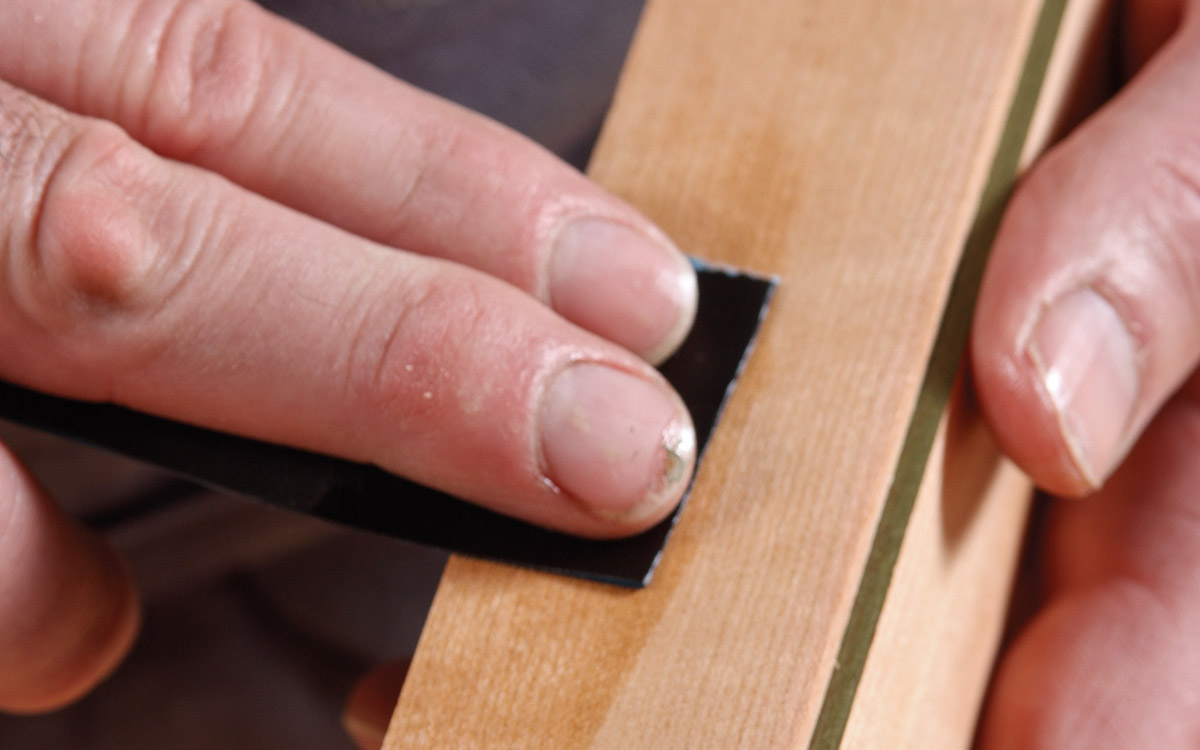
After I’ve planed the surfaces, I break out the sandpaper. I start with 320-grit paper, which is effective at removing any tracks left by the plane. I then move on to 400-grit and, with especially figured woods, I’ll go even farther up the grit ladder and pull out the 600-grit. Keep in mind that the secret to successful sanding is a light touch. After the sanding is done, it’s time to apply a finish.
Shellac is simple, fast, and beautiful
When I first started to use shellac, I used a heavy cut of premixed shellac from a can. It was hard to apply cleanly, and I gave up on shellac. It wasn’t until I learned to use a very light cut of shellac that I finally understood the appeal of shellac. I prefer to use shellac flakes now and make my own, but for a long time I would buy a quart of Zinsser SealCoat and mix it 50/50 with denatured alcohol to make a really light cut of shellac. So, you can do that if you don’t want to do what I’m about to explain.
I make a 1/2-lb. cut of shellac. It’s 1 oz. (by weight) of shellac flakes mixed with 4 oz. of denatured alcohol. I use super blonde dewaxed shellac flakes, because it’s very clear and doesn’t affect the wood’s natural color much. Use a glass jar and pour the alcohol over the flakes. It takes a while for the flakes to dissolve, several hours at least. Make sure to shake the jar every now and then, but don’t fret about how long it takes them to dissolve. In the meantime, you can prepare the box for the shellac (see the photos above), and then read a few issues of Fine Woodworking.
 |
 |
| 1. Mix shellac flakes and alcohol. | 2. Wipe on the first coat. |
 |
 |
| 3. Apply a second coat and let dry. | 4. Wet sand with 800-grit wet/dry paper and mineral spirits. Apply a third coat and let dry. |
 |
 |
| 5. Rub with extra-fine steel wool. | 6. Finish by waxing all the shellacked surfaces. |
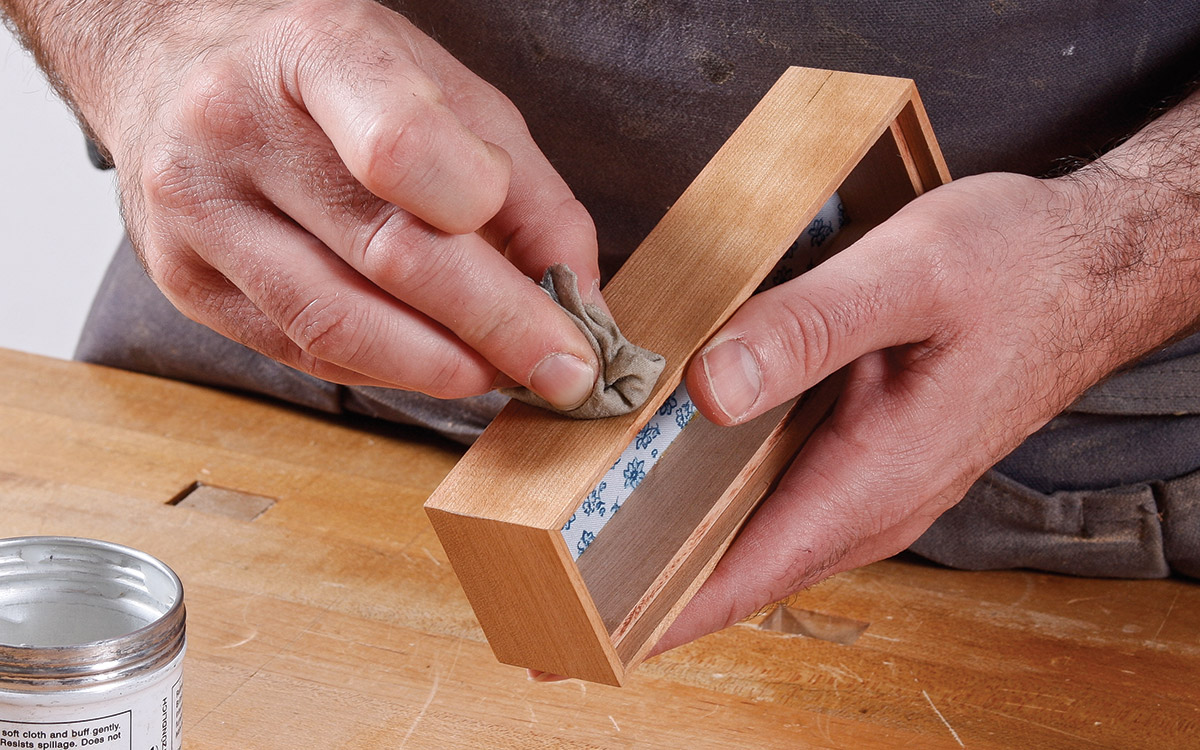
Well, it’s been a few hours. The shellac is completely dissolved, so it’s time to get busy. Grab a bit of old T-shirt or some other soft fabric (preferably white and free of dyes), fold it up, and dip it into the shellac. Wipe it across the surface. Move around the box and get the edges, too, but don’t do the bottom yet. Set the box down on the bottom and wait. You won’t be waiting long. Shellac cut this light dries insanely fast. Give it five minutes. Now shellac the bottom and let it dry. Apply a second coat to all the surfaces and let it dry. Sand everything with 800-grit wet/dry sandpaper. I use mineral spirits to lubricate the paper and prevent the paper from clogging. Set the box aside and let the mineral spirits dry. Apply a third coat and let it dry. Take some extra-fine steel wool and rub it over all of the surfaces, which will knock the sheen off the shellac. Grab another piece of T-shirt and rub some wax over all the shellacked surfaces. I use Renaissance wax, because I love the soft luster it gives the wood. That’s it. You’re done.
Milk paint rocks
I love the matte, mottled colors of milk paint, and I love that I can mix different colors to create new ones. My use of paint upsets some folks who think you should never paint wood, but as my wonderful grandfather Kenney would say, “Peshaw.” I love the bold pop of color that milk paint gives. I love that it’s a traditional finish from ye olde days of Colonial America but that I can use it in very untraditional ways. It’s a glorious thing.
I’ve already explained how to apply milk paint to the edge of a bottom, but I didn’t go into too much detail. Here’s the technique I use for edges and larger surfaces.
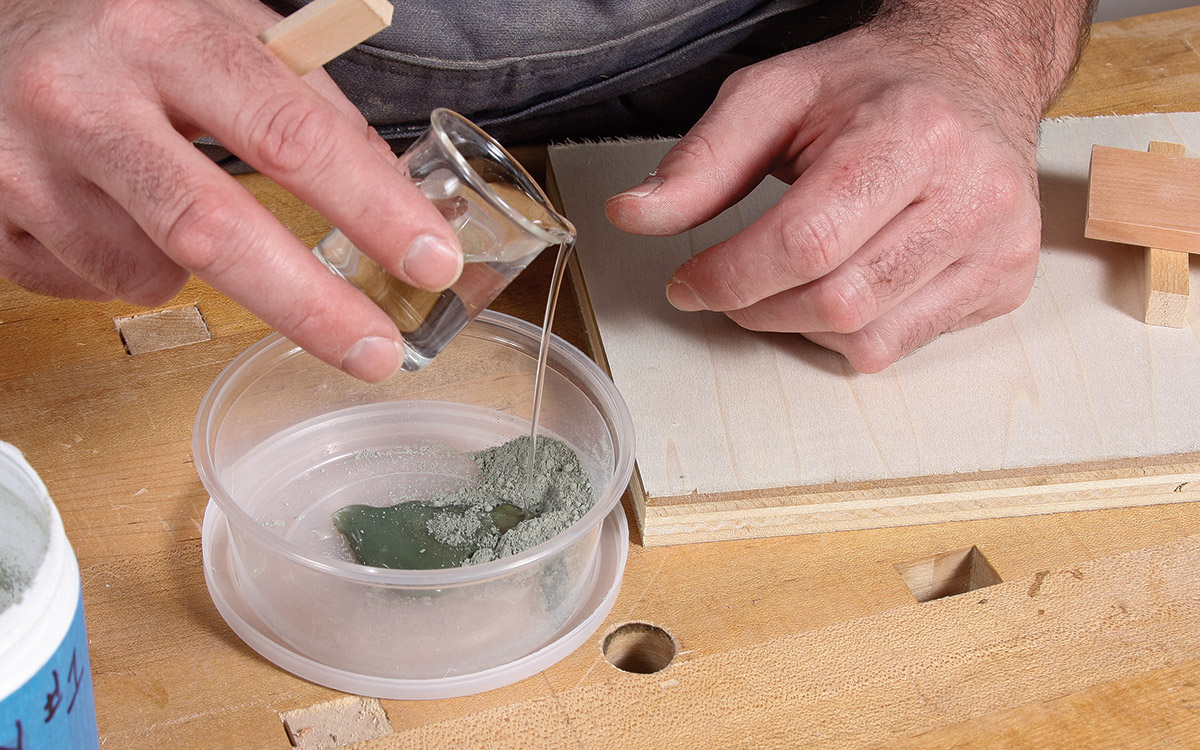
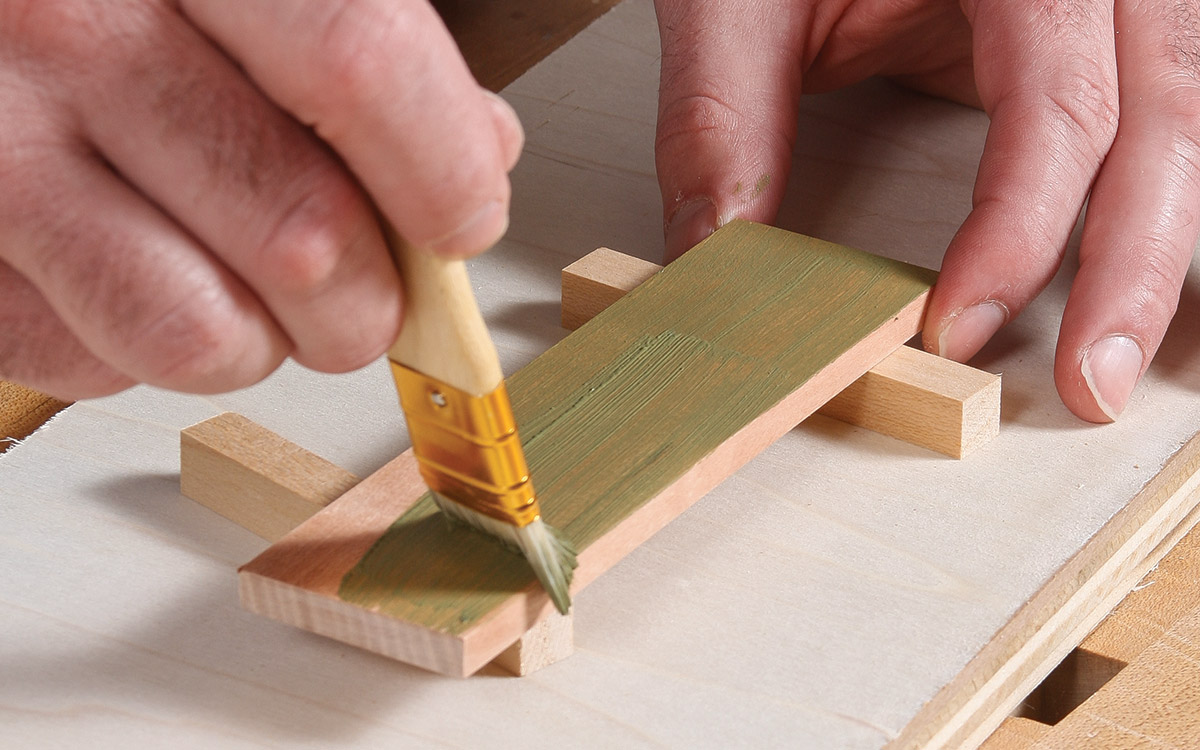
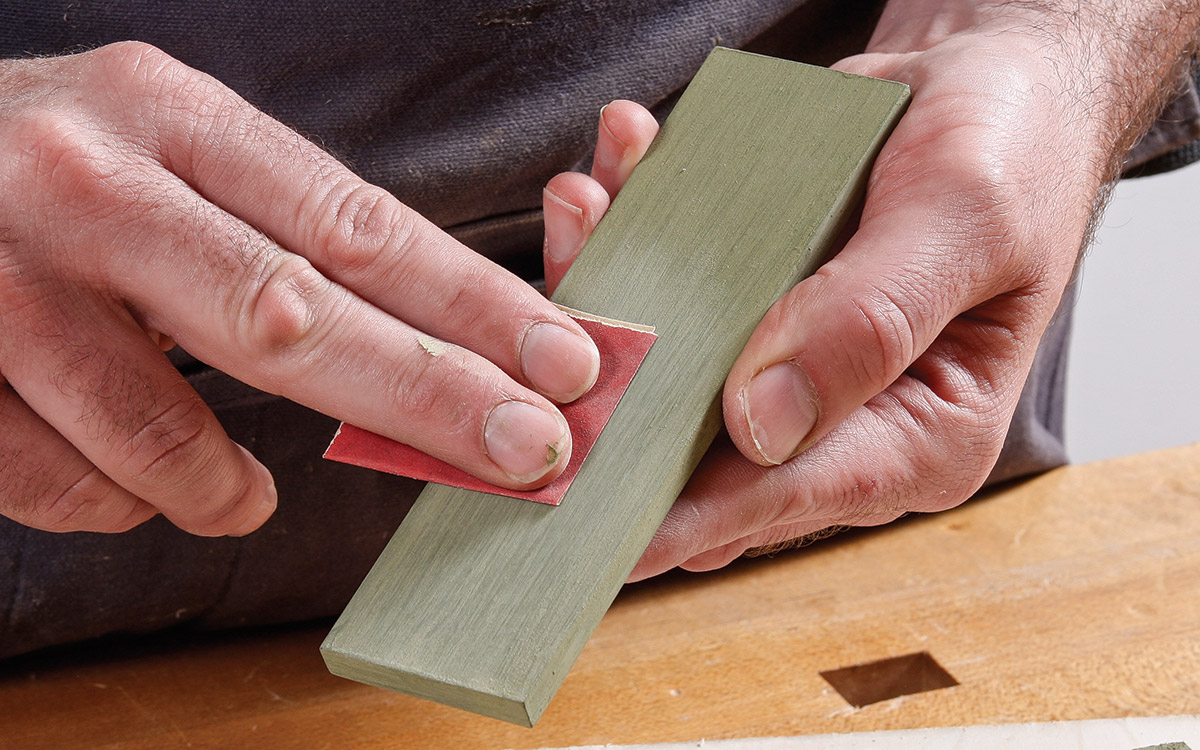
Mix the paint first. I’ve found that warm water dissolves the powder better than cool or cold water. As for the ratio of water to powder, it’s about 1 part powder to 1 part water. However, this is just a starting point. It varies from color to color, and even between bags of the same color. After mixing the powder and water, let the mixture sit for at least 20 minutes. At this point, I’m looking for the paint to be a bit thinner than latex paint. Once it’s ready, applying milk paint is a lot like applying shellac. I apply a coat, let it dry, and then apply a second coat. After the second coat is dry, I sand with 320-grit paper. I then clean off the dust and apply a third coat. After the third coat is dry, I sand with 400-grit paper and clean off the dust. I then apply wax and I’m done.
 |
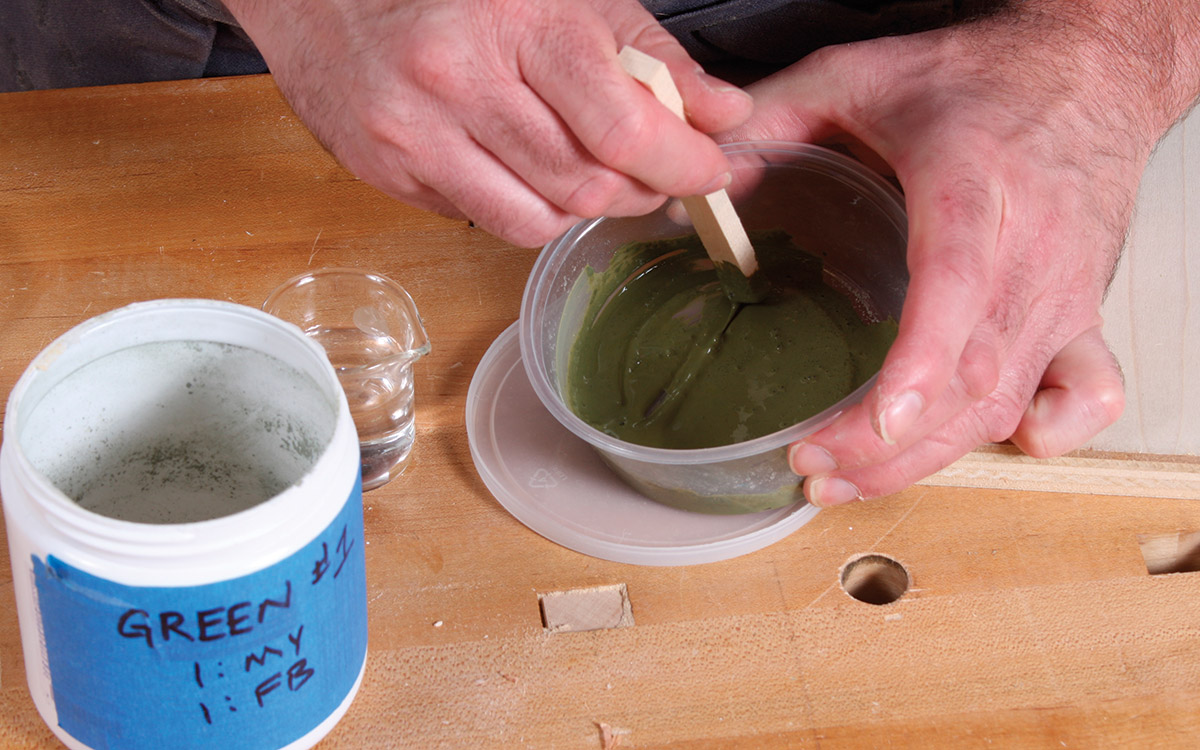 |
| 1. Pour warm water into the powdered milk paint (about 1 part to 1 part). | 2. Mix and then let the mixture sit for at least 20 minutes. |
 |
 |
| 3. Apply the first coat and let dry. | 4. Apply a second coat, let dry, and then sand with 320-grit paper. |
 |
 |
 |
| 5. Apply a third coat and let dry. | 6. Sand with 400-grit paper. | 7. Apply wax to finish. |
 Excerpted from Matt Kenney’s book, 52 Boxes in 52 Weeks.
Browse the Taunton Store for more books and plans for making boxes.


Log in or create an account to post a comment.
Sign up Log in