
The Science Behind Epoxies
Mya Rae Nelson takes a look at the molecular structure of epoxies and why it bonds so well with wood.

Synopsis: Woodworkers know that epoxy is a strong adhesive, a great gap filler, an excellent crack repairer, and even a durable coating. What makes it so effective? It’s all about science, and here we take a look at the molecular structure of epoxies and why it bonds so well with wood.
There are a lot of reasons you might use epoxy for one of your projects. Epoxy is a strong adhesive, able to fill a gap in a joint, quickly repair cracks, and bond wood to a non-porous material such as metal. Many epoxies offer long open times, which comes in handy for complicated glue-ups. You could also pour epoxy onto tables and countertops for a shiny, protective, and durable coating.
The versatility of this sticky substance has to do with some basic properties all epoxies share. Let’s take a look at how epoxy works and what the differences are between the various types.
The chains and rings of epoxy
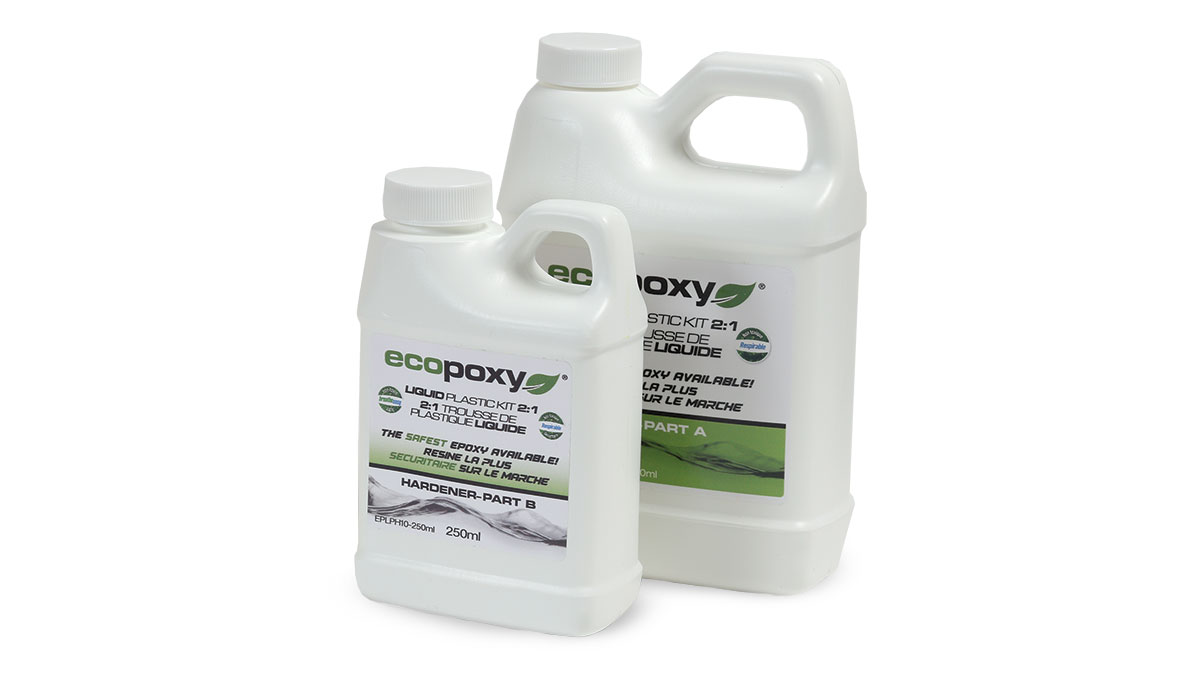
Epoxies belong to a large family of plastic materials that become rigid after a chemical reaction. In general, epoxies work by mixing two parts together: Part A is the epoxy substance, often called an epoxy resin. Part B is the hardener.
Inside Part A there are countless chains of molecules with repeating units. Each chain has a distinct chemical group that is attached to the end. These are epoxide groups.
The epoxide group has a ring-like shape made of three connected atoms—two carbons and an oxygen. Part of the ring has a positive charge; the other part negative. Instead of assuming a stable geometric shape, the three epoxide atoms bond together at sharp angles. This makes the ring relatively easy to break apart. This type of molecule is referred to as spring-loaded, because the atoms are pulling and straining against one another, ready to pop apart if disturbed.
Enter Part B, the hardener. The hardener contains nitrogen compounds, which have a partial negative charge. Opposite charges attract, so when you mix the hardener with the resin, the nitrogen compounds are drawn to the positively charged part of the epoxide ring. When the two molecules connect, it causes a reaction that makes the unstable epoxide ring spring apart. That, in turn, frees the chemical units in one chain to link with neighboring units in another chain. Each reaction releases a bit of heat energy. The repeating units continue to link together. This long chain of molecules is called a polymer.
The polymers continue to form cross-links with one another and the structure gains strength. Think of how hard it is to break the interconnected branches of a fishing net, says biopolymer expert Rigoberto Advincula of Case Western Reserve University. “The high degree of networking or crosslinking also makes the epoxy hard to deform, melt, and scratch.”
The process of rings breaking and chains cross-linking makes the mixture become thicker and harder. Once the reactions are complete, the cross-linked polymer branches are set and irreversible.
Attract and adhere
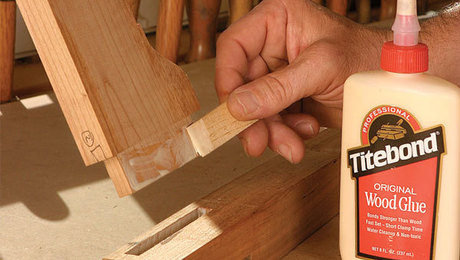
For an adhesive to join wood or other materials together, the adhesive itself must not only be strong, but it also needs to make a strong connection with the material it is adhering to. In an epoxy adhesive, the strength of that glue-to-material connection lies in epoxy’s resin structure.
The resin polymer chain has molecules hanging along it (hydroxyl or OH groups) that are strongly attracted to the surface molecules of many materials. When you spread the epoxy between two pieces of metal, glass, ceramic, or wood, the hydroxyl groups bond with the materials. In effect, this holds the two pieces of wood or other materials together, each sticking to the epoxy. The strong attractive force also pulls the epoxy into crevices in and along the material, giving it gap-filling properties.

How well two materials attach to one another depends upon the forces of attraction between the surface molecules. A solid material with surface molecules strongly attracted to one another has what is called a high surface energy. For a material to bond with an adhesive, the material needs to have a surface energy close to or higher than that of the glue. Epoxy has a relatively low surface energy. Metals, glass, wood, and tiles are a few materials with surface energy higher than that of epoxy.
If you notice an adhesive beading up on your wood, that means there is little attraction between its surface and the adhesive. The adhesive molecules are attracted more to each other than to the material and the adhesive will not bond well to your board. You’ve probably seen this if you have ever accidentally wiped finish on your wood before gluing. Oils and other finishes generally have a low surface energy, preventing glues from adhering.
Different properties
The first epoxy resin was manufactured about 75 years ago and since then, it’s become a popular and well-studied material. For woodworkers, there are numerous epoxy choices, each with its own formulation.
Epoxy resins come in all consistencies, from that of syrup to putty. This is measured by how easily the epoxy flows, also known as its viscosity. More viscous or thicker epoxies have added fillers such as copper, sand, and talc, the main ingredient in baby powder. Low-viscosity epoxies have incorporated small compounds that dilute the epoxy resin. You can save a joint with gaps by using a relatively thick epoxy that will fill the gaps. If you need to fill a thin split or small knot hole, you would pour in thin epoxy. Thinner epoxies would also work well to lubricate a tight-fitting joint.
On the clock
Epoxies range from those that harden in minutes to those that allow hours for a glue-up. Epoxy becomes less workable as the polymers continue cross-linking. You would want longer working times for complicated or multiple-piece glue-ups,; shorter working times for straightforward ones.
To speed up the cross-linking process, epoxy manufacturers can modify the nitrogen compound in the hardener to make it more aggressive. If your epoxy mixture has a bit of a rotten egg smell, for example, that’s a clue the fast-reacting thiol chemical group was added. For longer working times, the hardener’s nitrogen compounds are less reactive. These epoxies also can contain compounds that slow the reaction between the resin and hardener.
No matter what the epoxy formulation, higher temperatures quicken the hardening process because molecules move faster at warmer temperatures. You can give yourself more working time with your epoxy by decreasing the temperature, making sure you keep within the instructed temperature range. If you’ll be using a large amount of epoxy, try mixing up smaller batches. A small batch will produce less heat—leading to slower cross-linking—than a large one.
Many epoxies will take on a yellow tint over time because nitrogen-based compounds often have a natural yellow color. If you’re using epoxy as an adhesive or adding a strong color to it, that yellowish tint won’t matter. But for a topcoat where you want to see the beautiful wood grain or any decorative inlays, aim for the one of the clear epoxies that have fewer nitrogen compounds.
Innovations and going green
The vast majority of epoxy resins are based from the petroleum compound bisphenol A, BPA for short. Some research links BPA with harmful health effects, depending upon the level of exposure. Today, there’s a growing interest in developing biobased epoxies. Compounds from soybeans, vegetable oil, green tea, vanilla, and nuts are only a few of the natural substances researchers are working with to develop new epoxy resins. Isolating and commercially manufacturing the polymers is a challenge.
You can find a few bio-based epoxy options today. Look for epoxies that are part of the USDA BioPreferred Program, which indicates the product contains a verified amount of renewable biological ingredients.

Researchers are also making innovations in one-part epoxies, which do not require mixing. Currently, these epoxies generally harden after exposure to ultraviolet light or high temperatures, making them not as attractive to woodworkers.
Clean up with solvent
Before it hardens you can remove epoxy with acetone, the ingredient in fingernail polish remover. Acetone is a strong solvent, which means it can dissolve other substances. Isopropyl alcohol, the main ingredient in rubbing alcohol, also works as a solvent with unhardened epoxy.
As always, make sure to follow the recommended safety precautions when using epoxy: Wear gloves, avoid skin contact, and use a respirator or work in a ventilated area.
Epoxy chemistry explained
When you mix epoxy resin with hardener, you start a chemical reaction that transforms the combined liquid ingredients into a solid. As it cures, epoxy moves from a liquid state through a gel state, and finally reaches a solid state. Once in the solid state it cannot be uncured.


Pick the right epoxy for the job

Thick or thin
Epoxy comes in different consistencies, from liquid to putty. Repairing a thin crack may benefit from a thinner formulation while larger repairs need thicker epoxies.

How much time do you need
Epoxy comes in a wide range of open time, from minutes to hours. If you need a quick fix, go for a short working time. If you have a complicated glue-up, opt for a longer open time.
Going green
There’s a growing interest in epoxies made from natural substances. Look for those endorsed by the USDA BioPreferred Program, which verifies that products contain renewable biological ingredients.
![]()
For a clear finish
If you’re using epoxy as a topcoat, go for clear. Avoid formulations that are heavier on nitrogen compounds as they will have an amber tint.
Mya Rae Nelson is a woodworker and science writer in Washington, D.C.
Photos and drawings: Michael Pekovich
 |
|
 |
|
 |


Comments
Coming from a chemist and a woodworker, this is an wonderful article. Excellent work!
I loved this article. Marvelous insight into how mysterious epoxies work.
Thank you for the very interesting article. We all just use epoxies without thinking about it... just happy that they bond. But as I work more and more with wood, I am fascinated by all its properties and how it reacts to different elements (paint, stains, steam, etc) and now can add epoxy to my knowledge base! I hope there are more articles like this!
This brought back a memory. In 1965 I was a cadet in a military college. There was a fellow across the hall who was always late, which sometimes caused misery for everybody. In prepping for a big inspection, we glued his full coffee cup to his desk with the new epoxy. I'll leave it to your imaginations as to what happened after nobody could remove it before the inspection. I think he went to his grave cursing me for that.
Log in or create an account to post a comment.
Sign up Log in