Skip to content
Fine Woodworking
Main Menu
Subscribe
GET THE MAGAZINE & MORE
Magazine Cover
  • Save 69% off the cover price
  • Or, get everything with UNLIMITED, including 40+ years of the online archive.
Subscribe Now!
Subscribe
  • Projects & Plans
  • How-To
  • Shop Tips
  • Tools & Materials
  • Videos
  • Magazine
  • Video Workshops
  • Members
  • Forum
  • Gallery
  • Blogs
  • More
    • Log In
    • Join
    Fine Woodworking Main Menu Subscribe

    Fine Woodworking Project Guides

    Handplanes

    Guide Home
    Chapter
    • All About Handplanes
    • Planes for Surfacing and Smoothing
    • Planes for Joinery and Shaping
    • Block Planes
    • Scrapers and Scratch Stocks
    How-To

    Tips on Using a Spokeshave

    Peter Galbert demonstrates a number of techniques that work for both wooden- and metal-bodied spokeshaves.

    Author Headshot By Peter Galbert Jan 25, 2021
    using a spokeshave
    First address the perimeter. To shave a complex collection of curves like this chair seat, Galbert bandsaws close to the line, fairs those cuts with the shave, then creates a thin flat around the perimeter.

    Different shaves, similar strategies

    Despite the differences between metal and wooden spokeshaves, many strategies, from skewing to complex shaping, work for both.

    switch the skew for the spokeshave
    Alternate the leading hand for smoother surfaces. This crosshatching approach gives you a better feel for the surface you’re shaving. Also, when you switch skewing directions, the spokeshave hits the high spots left by the previous pass, creating a more even surface.

    As with all hand tools, cutting gets more difficult as the shaving gets wider. Whenever possible, I keep the cut narrow—and easy. If the shape is meant to be flat in the end, just take wide shavings as a last step after creating several narrow facets that build up to a flat.

    Also, like just about any edge tool, skewing the shave for a slicing cut will yield superior results and reduce the force required. There are many reasons for this. Skewing the blade also directs the cut partially cross grain, which requires less force.

    smoothly slice sintead of cut for nice transitions
    Start off the surface for sharp transitions. When two distinct shapes meet at a sharp edge, angle the shave so that only a small portion of the sole is firmly bedded at the start. This lets you smoothly slice into the cut instead of abruptly contacting the blade, which can cause chatter and an uneven cut.

    One circumstance where skewing leads to a smoother surface is when two distinct profiles meet at a sharp edge. Here, enter the cut with the tool angled so that only a short length of its sole is firmly bedded at the start. This lets you slice into the cut instead of chatter into it when you suddenly contact the full width of the blade.

    Alternating the direction of the skew can also help produce smooth surfaces. By alternating which handle leads, you’ll get a more complete feel for the surface you’re shaving, letting you better adjust the spokeshave. It also lengthens the relatively short sole, enabling it to bridge high spots and take them down rather than ride up and down between them.

    skew towards the longer fibers
    Skew toward the longer fibers. This keeps the fibers supported throughout the cut, limiting tearout. On a simple bevel, cutting toward the long point of the bevel is best (left). You should skew the tool so it slices up and away from the fibers (right). Otherwise, you can significantly tear out the wood.

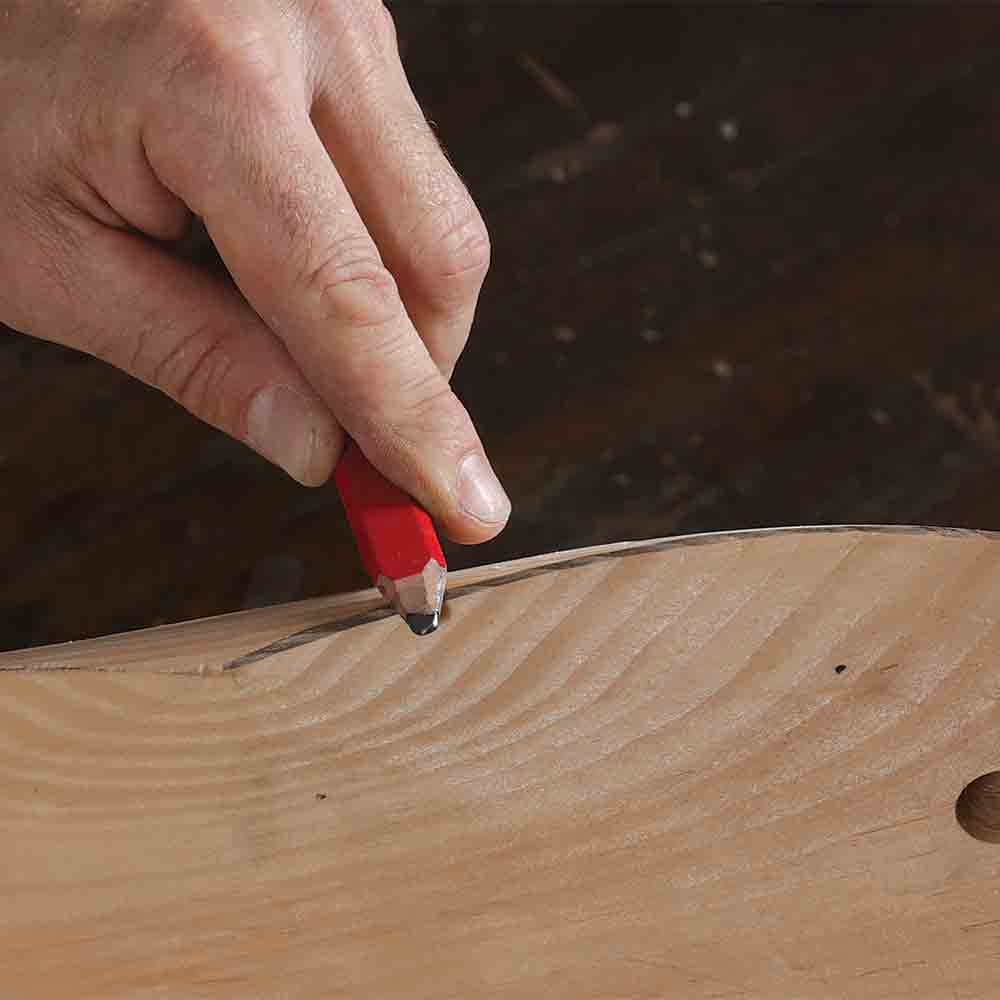
    When fine-tuning complex shapes for fair, clean lines at the edges, I have a simple, three-step technique. I’ll use a chair seat as an example, which has three curves—its top, bottom, and the plan view—that meet around its perimeter. First, after roughing the shapes, I refine the plan view, ending with a small flat along the profile. To help with the next two steps, rub graphite on this flat. Next, shape the top of the seat. There should be some graphite left. Finally, shave the bottom surface until there’s just a fine line of graphite left. Don’t overshoot the line here, or the profile will be ruined and you’ll be back to step one.

    pencil the flat before spokeshave
    Rub lead onto the flat. After penciling in the flat, Galbert will shave the curves on the top and bottom of the chair seat. The penciled flat will allow him to monitor his work on the two opposing planes.

    bring top and bottom curves together, spokeshave the top first
    Bring the top and then bottom curves together at the perimeter pencil line. The top of the seat, the more noticeable surface, gets shaved first. From there, shape the bottom until there’s an evenly thin line of pencil left—evidence of a perfectly crisp, multifaceted shape.

    Peter Galbert makes Windsor chairs in Boston and teaches around the country. He is author of The Chairmaker’s Notebook (Lost Art Press, 2015).

    This is an excerpt from Peter’s article, Spokeshave fundamentals in FWW #285.


    • Webinar: All About Spokeshaves with Peter Galbert

    • Video: Sharpening a Curved Scraper

    • 7 Questions with Peter Galbert

    Sign up for eletters today and get the latest techniques and how-to from Fine Woodworking, plus special offers.

    Sign Up

    Get woodworking tips, expert advice and special offers in your inbox

    Sign Up
    ×
    X
    X
    Previous: Spokeshave Fundamentals Next: Smooth Curves with a Spokeshave

    Guide

    Handplanes

    Chapter

    Planes for Joinery and Shaping

    Log in or create an account to post a comment.

    Sign up Log in

    Handplanes

    Handplanes

    All you need to know about choosing and using these versatile, must-have hand tools.

    View Project Guide

    View All Project Guides »

    Become a member and get unlimited site access, including the Handplanes Project Guide.

    Start Free Trial

    All About Handplanes
    • Handplane Basics
    • Setting Up a Plane
    • Maintenance and Restoration
    Planes for Surfacing and Smoothing
    • Smoothing and Jack Planes
    • Techniques
    • Sharpening
    Planes for Joinery and Shaping
    • Planes for Joinery
    • Rabbet Planes
    • Shoulder Planes
    • Molding Planes
    • Router Planes
    • Spokeshaves
    • Other Specialty Planes
    Block Planes
    • All About Block Planes
    • Techniques
    Scrapers and Scratch Stocks
    • Card Scrapers
    • Scraper Planes and Cabinet Scrapers
    • Scratch Stocks

    Get the latest from Fine Woodworking Magazine

    • #292-NOV/DEC 2021

      • Kerf-bent wall cabinet
      • Online extras from FWW issue #292
      • How to tame curved parts with patterns
    • #291-Sep/Oct 2021

      • Build a modern coffee table
      • Online Extras from FWW Issue #291
      • Editor's Letter: Something old, something new
    • #290-July/Aug 2021

      • Build a Shaker chest of drawers
      • Online Extras from FWW Issue #290
      • From the editor: What we make matters
    • #289-May/June 2021

      • Arts & Crafts Coffee Table with Story-Book Charm
      • Links from Fine Woodworking issue #289
      • Step-by-Step Guide to Tuning Your Block Plane
    • #288-Mar/Apr 2021

      • Phil Lowe: A craftsman and gentleman
      • Online Extras from FWW Issue #288
      • Phil Lowe: craftsman, teacher, friend

    UNLIMITED membership - Get access to it all

    Start Free Trial Upgrade Membership

    Fine WoodWorking

    Follow

    Newsletter

    Get woodworking tips, expert advice and special offers in your inbox

    Sign Up

    Membership & Magazine

    • Members
    • Digital Libraries
    • Join Unlimited
    • Magazine Subscription
    • Magazine Renewal
    • Gift a Subscription
    • Customer Support
    • Manage Preferences

    Taunton Network

    • Fine Homebuilding
    • Green Building Advisor
    • Fine Gardening
    • Threads
    • About
    • Contact
    • Advertise
    • Privacy Policy
    • Careers
    • Copyright
    • Terms of Use
    • Accessibility
    • California Privacy Rights
    • Site Map

    © 2021 The Taunton Press, Inc. All rights reserved.

    Get step-by-step instructions, woodworking tips, expert advice and special offers in your inbox. Sign Up Now!

      Main Menu

    • Projects and Plans
    • How-To
    • Shop Tips
    • Tools & Materials
    • Videos
    • Gallery
    • Magazine
    • Video Workshops
    • Members
    • Forum

      Popular Topics

    • Design
    • Small Projects
    • Beds
    • Chairs, Benches And Stools
    • Built-ins
    • Storage And Shelves
    • Cabinets
    • Carving
    • Casework
    • Desks
    • Tables
    • Shop Storage And Furniture
    • Woodturning Projects
    • Workbenches
    • Surface Prep

      More

    • TV
    • Forum
    • Blogs
    • Webinars
    • Podcasts
    • Customer Support

      Account

    • Log In
    • Join

      Magazine

    • Current Issue
    • Past Issues
    • Digital Libraries
    • Magazine Index
    • Subscribe

      Membership

    • Member Home
    • Start Free Trial
    • Gift Unlimited
    • Log In

      Shop the Store

    • Books
    • DVDs
    • Taunton Workshops

      Events

    • Fine Woodworking Live
    • Fine Woodworking HANDS ON

      Account

    • Log In
    • Sign Up

    Newsletter

    Get woodworking tips, offers, and expert advice in your inbox

    Sign Up

    Follow

    UNLIMITED

    Become an UNLIMITED member and get it all: searchable online archive of every issue, how-to videos, Complete Illustrated Guide to Woodworking digital series, print magazine, e-newsletter, and more.

    Start Your Free Trial

    Upgrade Membership