
Make a Walnut Display Box, Part 1
Learn how to reinforce a mitered box with spline miters and line the bottom of the box.

In general, display cases allow you to see delicate or valuable things without handling them. Instead of a wood panel in the top, you use glass so the contents are visible when the box is closed. I made one as a gift for my daughter, a place where she could store some of the shells and rocks she always collected from every beach we visited. As always, the box should be tailored to its contents. Consider the size and shape of the objects to be displayed, and leave just enough extra space between them and the glass. Arrange the contents on a table and come up with your own dimensions.
It’s a good thing the spline miter used on this box is a relatively easy joint to make. Almost all the work is done on a tablesaw with a standard rip fence and miter gauge. Though easy to cut, miters are hard to get just right. If you’re a perfectionist and can’t stand small gaps, you might find the joint frustrating. On the other hand, lining the bottom is easier than you think. You might end up doing it more often. The trickiest parts are the quadrant hinges, but you can use simple surface mounts if you prefer.


Milling Walnut Stock
Walnut is medium in density and relatively easy to work. The one challenge is that it’s often knotty. Finding straight and clear walnut in good widths can be a challenge.
1. Mill enough walnut for the project to 5/8 in. thickness, preferably in 5-in. widths and 20-in. lengths. Don’t cut short lengths for the sides, but leave them in one 20-in.-long piece.
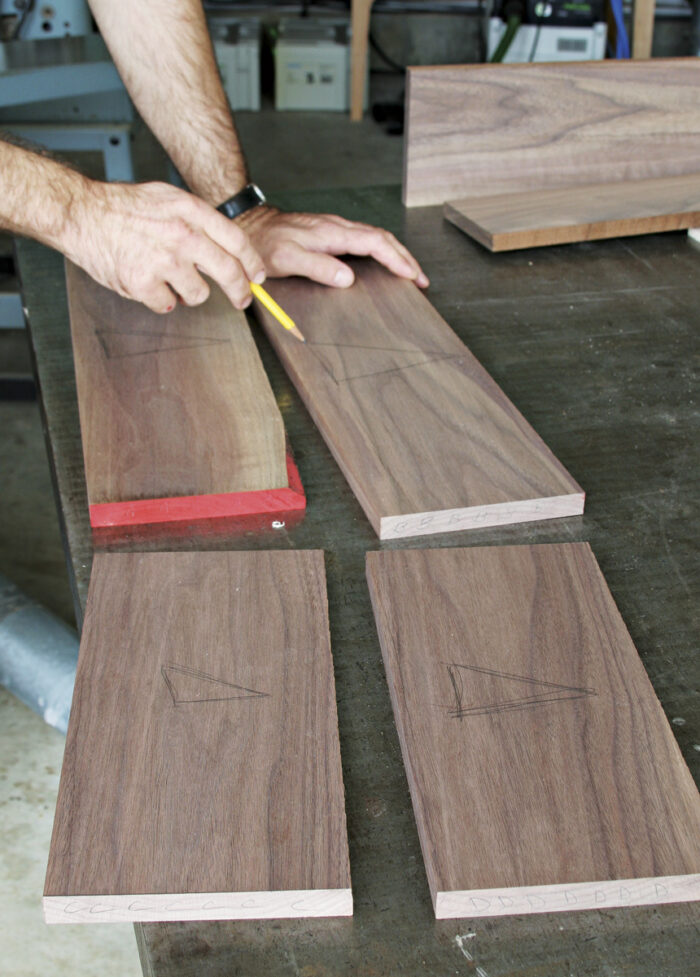
2. Take three 5-in.-wide by 20-in.-long boards. Mark the faces of the three oversize lengths with a large triangle to orient the pieces after you saw them apart. A
Work SmartPencil lines can be hard to see on dark wood. If this annoys you, try a white artist’s pencil and the lines will be hard to miss. |
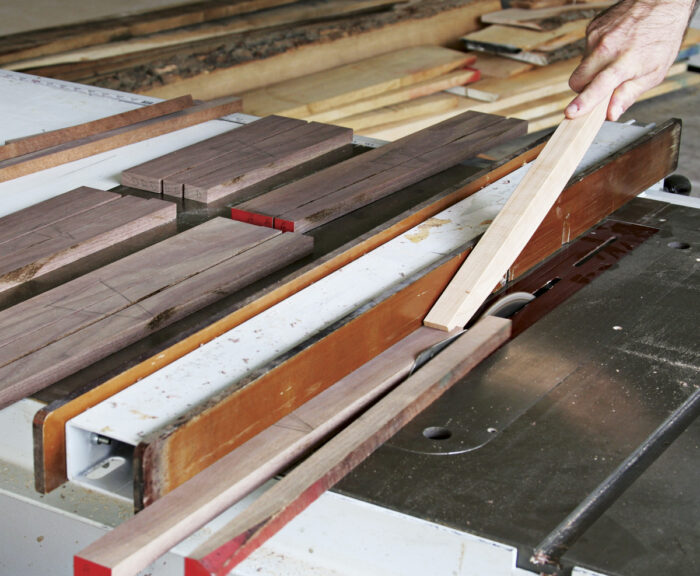
3. From each of the three boards, cut one box side, one top side, and one top trim piece in that order. This ensures the grain matches between the top and sides in the finished box. First rip 2-in.-wide pieces for the box sides from each board, then rip 7/8-in.-wide pieces for the top sides, and finally 1-1/8-in.-wide pieces for the top trim. Save the scrap for making the glass stop later and for test pieces. B
4. Plane the top trim pieces to 3/8 in. thickness and set them aside for now.
5. Lay out the pieces according to where they’ll be in the final construction and mark the joints on the top edges, the ends, and the faces to keep from losing track of their orientation and jumbling the lot. C
| A
|
| B
|
C
|

Splined Miter
Accurate splined miters are possible on nearly any tablesaw, as long as you take the time to set up the blade and miter fence carefully. You cut the top and bottom sides with the blade tilted at 45 degrees and the miter fence set at 90 degrees square. For the top trim, however, you do the opposite. You cut it with the blade at 90 degrees and the miter gauge at 45 degrees. This is because the spline is vertical in the sides and horizontal in the trim. A rip blade that leaves a flat-bottomed kerf is best for this work, but I’ll show you how to work around not having one.
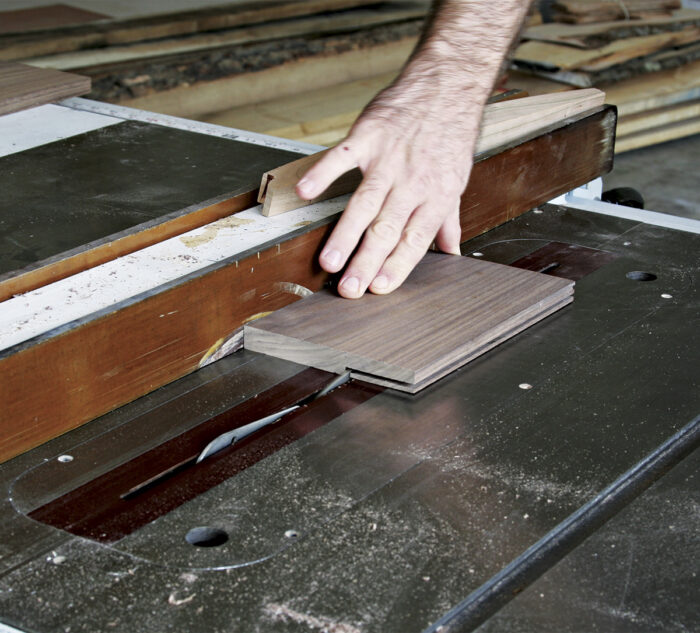
Sawing a miter accurately
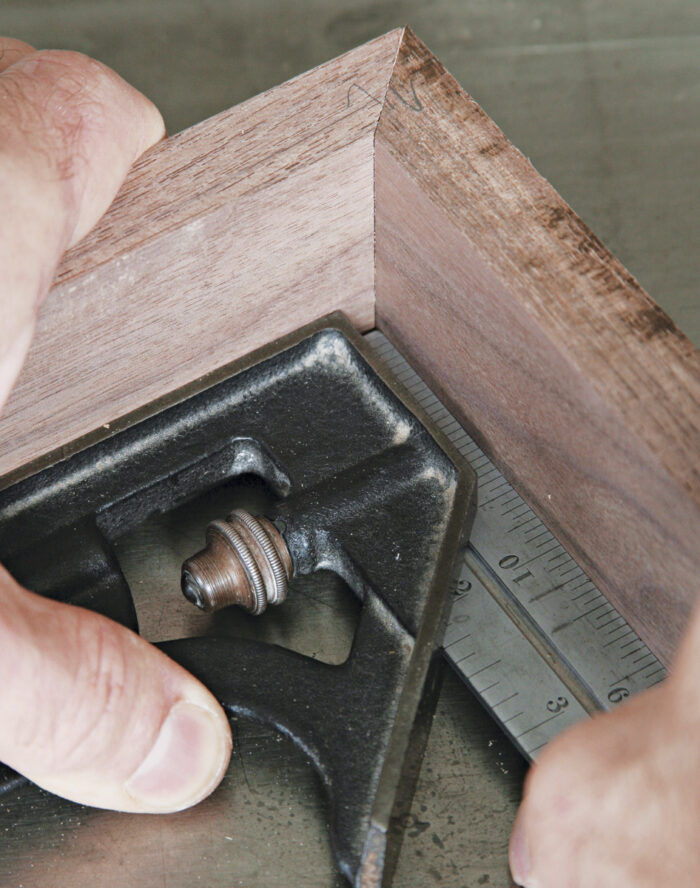
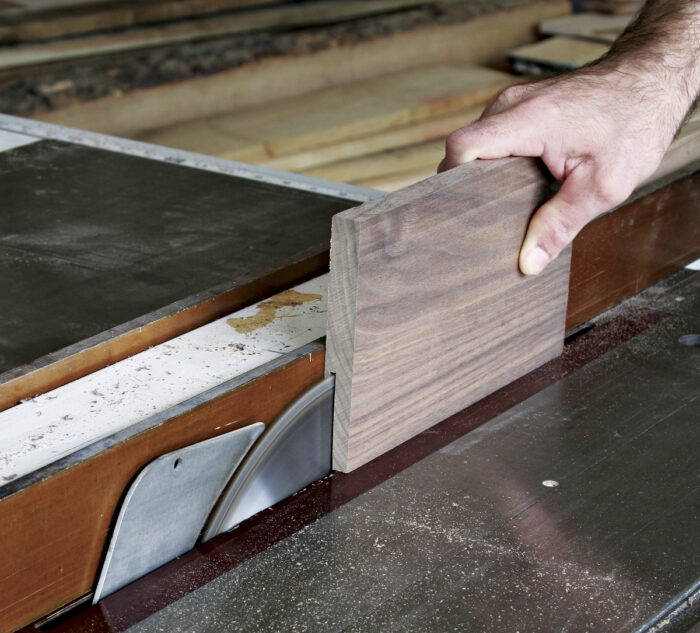
1. Set the tablesaw miter gauge at exactly 90 degrees to the blade. You should see absolutely no gap between blade and square. A
2. Tilt the blade to 45 degrees. There’s no good way to measure this angle that I know of. Even if there was, I’d still cut a sample joint and check it on a square. Two perfectly cut 45-degree angles should make one tight 90-degree joint. A common problem is the workpiece sliding against the miter fence. Some woodworkers go so far as to glue sandpaper to their miter fence, though I think this reduces accuracy. A better solution is making two passes against the blade. The first is off the line. If the workpiece wanders, it’s not a problem. Make your second, very light cut the real one. Small engagement with the blade never pushes the workpiece around. B
3. When you have the tablesaw’s setup tuned just right, miter one end of the box side and top side pieces (but not the top trim). Cut the miters in the same place on each matched pair, so the triangles on the faces still line up after mitering.
Work SmartThe small offcuts from mitering with a tilted blade tend to get caught and kicked back. They’re harmless unless one catches you in the eye. So wear safety glasses. |
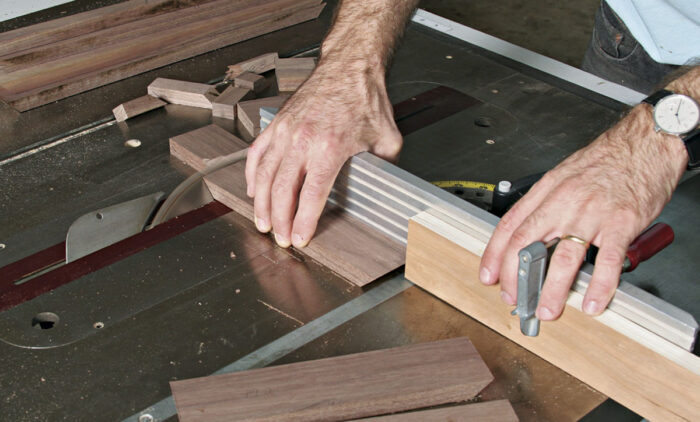
4. Using a stop block to ensure opposite parts are identical lengths, miter the opposite ends of all the box side and top side pieces. C
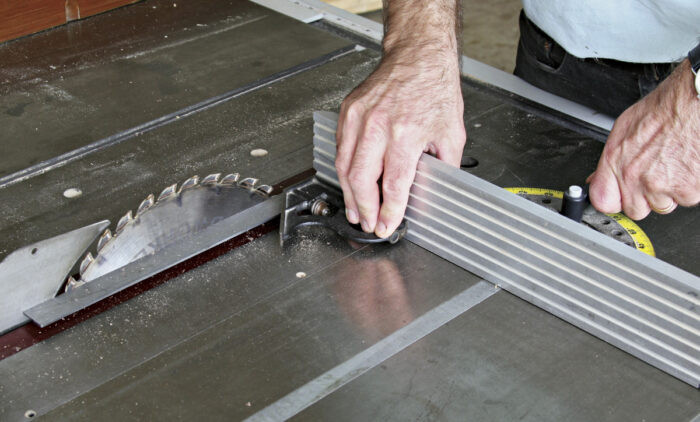
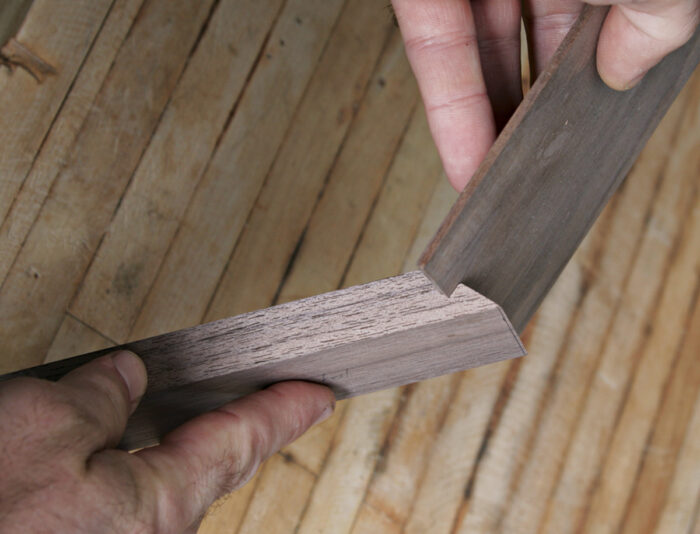
5. Move your miter gauge to the other side of the saw. Clamp a backing board to the miter gauge that will support the workpiece fully in the cut. Set up a stop block opposite the blade. Using test pieces, find the right combination of stop block location and blade height to cut a 1/4-in.-deep kerf in the faces of your mitered parts. Locate the kerf about 3/16 in. from the inside corner. D
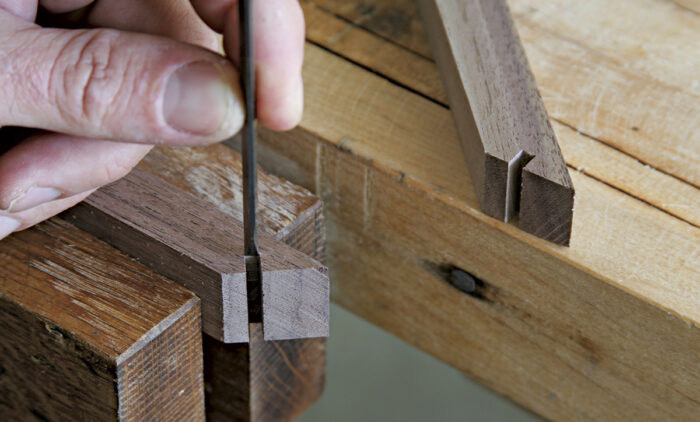
6. If you use an ATB blade, your kerfs will have a V-shaped bottom. Use a small chisel to flatten the bottom, cutting from both ends. Be very careful not to deepen the kerf, just trim the V flat. E
| A
|
| B
|
| C
|
| D
|
| E
|
Make splines
1. If you can, plane 2-in.-wide stock to just slightly thicker than the thickness of your sawblade, which on my saw is just under 1/8 in. My planer doesn’t plane that thin, so I cut spline stock on the tablesaw by ripping on edge, then cutting away the piece. A & B
2. Test the spline stock in the kerf. If it’s too thick, sand until it just fits. C
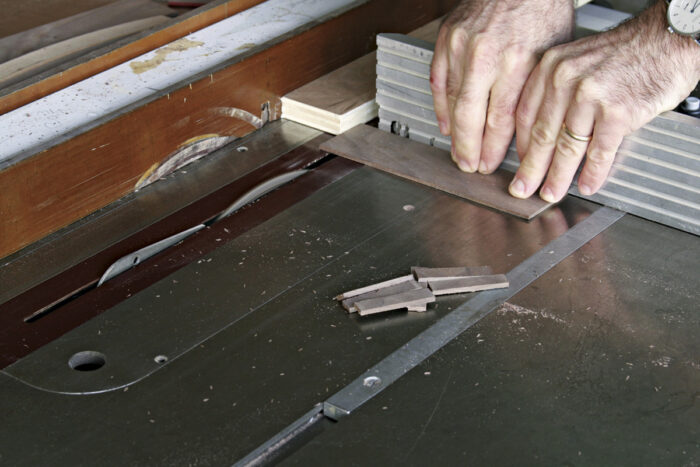
3. Crosscut splines from the stock on the tablesaw. For consistency and safety, set a block against the rip fence behind the blade. Register the spline stock against the block before each cut. Cut this way, the splines themselves are weak, with the grain running across their width. But the grain is the right direction to give strength across the joint. D
| A
|
B
|
| C
|
D
|
Lining the Bottom
Lining this box is optional and depends largely on what you put in it and how you want the interior to look. I picked a dark green leather as I think it goes well with the dark brown of the walnut.
| Lining a Box
Bare wood isn’t always the best material for the inside of a display case. The grain may distract the eye and some metals will rust when sitting on wood over long periods. Other woods can stain fabrics or impart smells. My dresser drawers still have paper-lined bottoms. So there are very good reasons to line boxes, even if the interior isn’t on display. Boxes can be lined with a huge variety of materials, so don’t necessarily reach for felt or leather thinking they are the only options you have. Thick veneer (1/8 in.) is a great option aesthetically, but leaves you with the same problems that lining is meant to solve. Paper is certainly the cheapest lining, but it doesn’t have to look cheap—handmade, acid-free paper can make a very practical and beautiful lining. Among cloth, you need only consider the thickness. Felt and velvet are most common in part because they’re thick enough that adhesives won’t bleed through. |
|
|
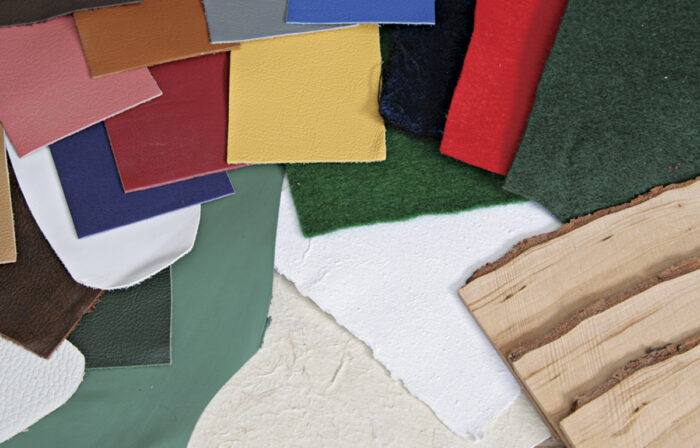
| Leather-lined boxes are by far the nicest, in my opinion. Although leather costs more, it has a wonderful feel. Leather can be a bit harder to find than fabrics. Local suppliers will be in the yellow pages, but they may insist on full or half-hide minimums, which is a lot of leather and too much for one box. But ask about old samples or a scrap bin. With a little digging, I’ve found just what I need for a bargain price. |
1. Pick a color for the lining that complements the objects you mean to display and goes well with the wood you use. Get a piece of material that is slightly larger than the box bottom.
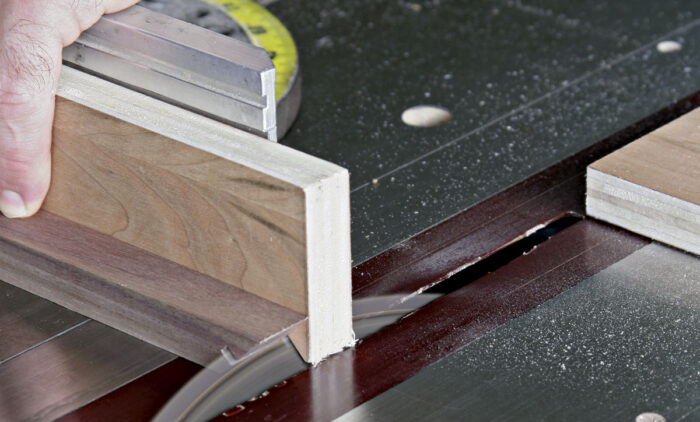
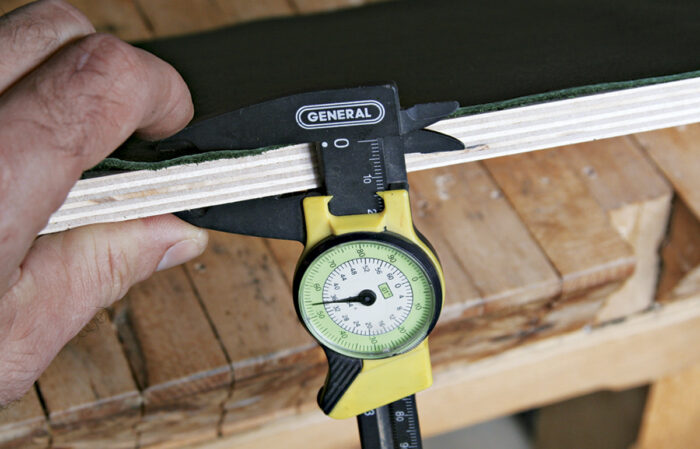
2. Measure the thickness of the box bottom and the leather combined, just under 9/16 in. in my case. A
3. Rip 5/16-in.-deep grooves in the box sides to capture the lined bottom. Make multiple passes with a standard 1/8-in.-wide blade, or use a dado blade if you have one. Test fit the bottom with a piece of the leather and adjust the width of the groove as necessary. B
4. Measure from the insides of the grooves and cut the box bottom to size. It should be slightly undersize, 1/16 in. shorter in both directions, because the leather wraps over the edges and contributes to the length and width.
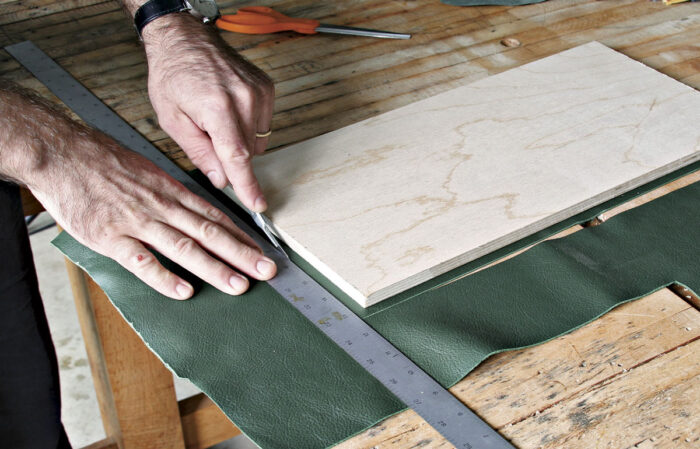
5. Cut the leather piece just bigger than the bottom, about 1/2 in. wider and longer. C
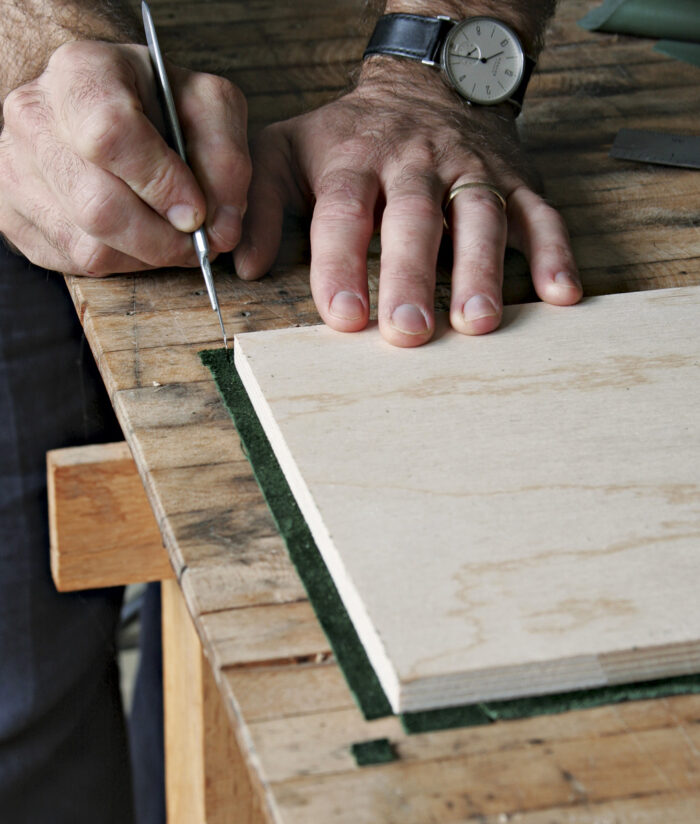
6. Cut notches at each corner so the leather doesn’t overlap when you fold it over the edges. D
7. Brush the back side of the leather thoroughly to get rid of any wood chips or dust it might have picked up around your shop. Lightly sand both sides of the plywood bottom piece, too. This step helps avoid a lumpy leather surface.
8. Spread a thin layer of white glue over one side of the bottom piece. E Lay the leather down on top and smooth it out with your hands or a roller. You don’t need to press hard at all, just smooth out any bumps. F There’s no need to clamp the leather down.
9. After an hour or two to let the glue set, glue the leather on the edges as well. I use clamps and cauls for this, as leather has some stiffness and may pull away before the glue sets.
A
B 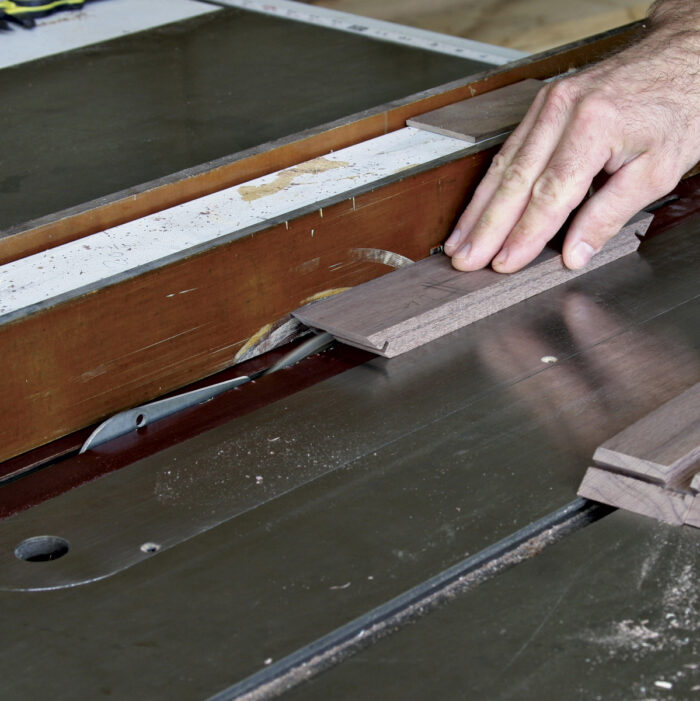
|
| C
|
D
E 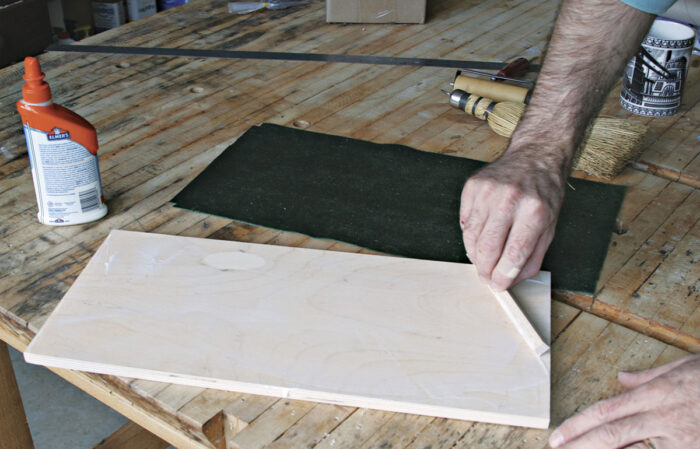
F |

 Excerpted from Strother Purdy’s book, Traditional Box Projects.
Browse the Taunton Store for more books and plans for making boxes.


Log in or create an account to post a comment.
Sign up Log in