
Make a Shaker Candle Box, Part 2
Learn how to glue up a rabbeted box and how to apply a Danish oil finish.

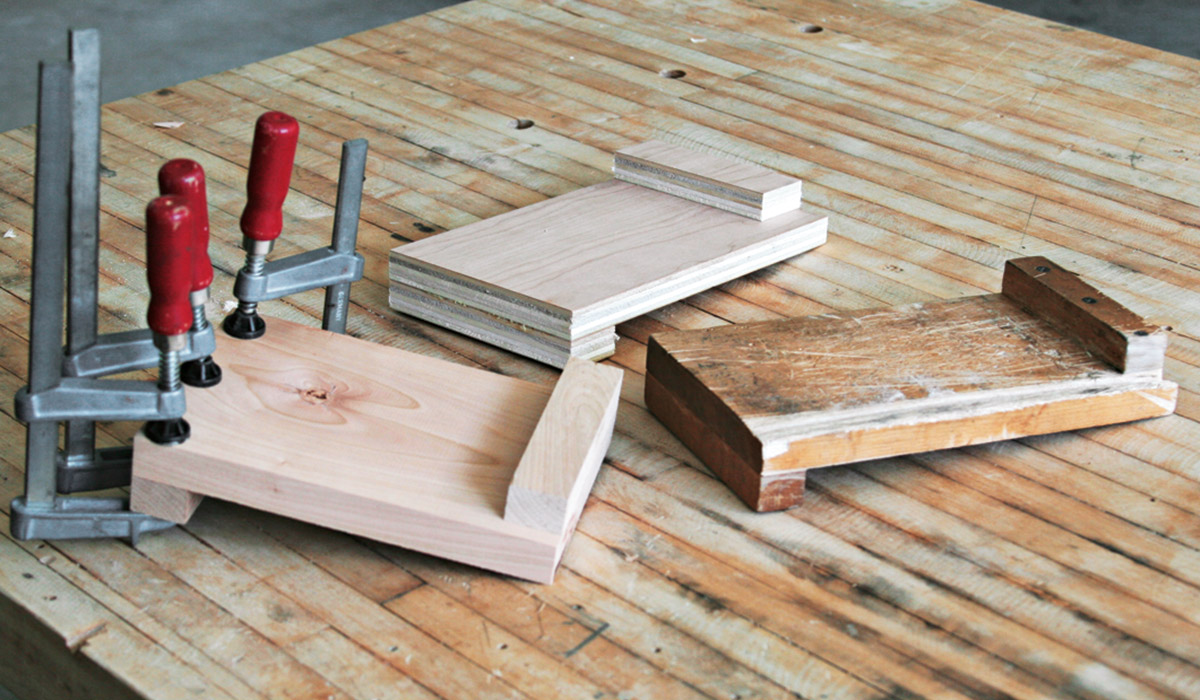
Once you have milled the stock, cut the joinery, and made the box bottom (Make a Shaker Candle Box, Part 1), you’re ready to put the parts together. The final step is to apply finish to the candle box; for mine, I used a Danish oil and wax finish.
Assembling the box
Rabbets do not make a strong glue joint, as there is no face-grain to face-grain connection. Glue helps quite a bit, but nails do most of the long-term connecting work. So after you glue the box together, handle it gingerly until you’ve set the nails.
1. Sand the inside faces of the four sides and the bottom piece before assembly. Although I used a random-orbit sander, a block and sandpaper does as good a job (it just takes more time). I started with 180 grit and finished with 220 grit because there were no major tearouts in the grain and pine is soft and cuts quickly. Use a pad (I used squares of rattan) to protect the backs of the workpieces as you sand.

2. Before final assembly, I highly recommend clamping the parts together dry to see that everything fits. This doesn’t take more than five minutes, and may save you from starting over if anything is seriously mismatched. Use a shoulder plane to trim the rabbets (as you did for the bottom) if they don’t fit tightly.
3. Dab a light layer of glue on the surface of each rabbet, though not where the top intersects. Resist the temptation to put glue in the grooves. Although the bottom might not crack on such a small box, you’ll surely end up with lots of glue squeeze-out to clean up.

4. Lightly clamp the box sides, ends, and bottom together and check that every part lines up right. Check the diagonal measurements and realign the clamps if they are not equal.

5. When you have everything just right, fit clamps snugly lengthwise and widthwise across the box. Try to do this all very quickly before your glue sets, usually under five minutes with a standard PVA adhesive. If you prefer working in a relaxed manner, use a glue with a slower set, such as Titebond III.

6. Unclamp the box after about 30 minutes. Inspect the inside of the box for any glue squeeze-out and remove it while it’s still rubbery, though not liquid. Dry glue is far harder than pine. This makes it nearly impossible to remove without tearing the wood.

7. Let the glue cure for a day or two. Then sand all surfaces up to 220 grit, being careful not to stress the joints with too much pressure.
Work Smart
As pine dents easily, take care what you rest your box on. If your work surface isn’t perfectly clean, another piece of pine makes a good backer to avoid marring your freshly sanded box. Rubbery or soft mats won’t mar, but setting the nails will be a real chore, as the hammer will bounce back.
Bevel and fit the top
I find it difficult to choose what kind of top to make for these boxes. There are many choices, each with their pros and cons. The rabbet joints leave a notched edge, which I like to hide with a flush-fitting top. But a beveled top is far easier to make and nicer looking.
1. Mark out the bevel edge on the top piece with a scribed line about 1/16 in. from the bottom edge. This line will help you keep an even thickness for the edge.

2. Draw a line about 1 in. from the edge along three sides of the face. The unmarked side is where the finger pull will go, so choose that now. This line will determine the slant of the bevel. If you want a sharper-angled bevel, mark a line closer to the edge.

3. Using a bench hook as a stay (see “Making a Bench Hook”), bevel one end first, then the two sides. You should work in this order because you can get tearout at the end of the crosscut. When you bevel the sides, you cut away the tearout. I use a block plane, though a sander with 80-grit paper will also work.

4. Test the fit of the top as you go. You want a snug fit (though not very tight) at this point. After sanding, the top will slide more easily. Try to remove equal amounts from the two sides so the bevels are symmetrical.

5. Check the fit of the end to see if the top fits evenly into the groove. Rub a pencil on the bevel where it’s high, then either use the block plane or sandpaper to adjust the fit.

Making a Bench Hook
A bench hook is simply a board with a crosspiece at either end. That it should be so simple belies its huge versatility as a holding tool. Its primary use is for crosscutting boards and trimming tenons. But it’s also very useful for other hand-tool work. Throughout this book, you’ll see it in action many times. Here I’ll show you how to make one and some general tips on using it. You just need a flat and square scrap, 5 in. to 9 in. wide and 10 in. to 12 in. long, for a good base. If you use a piece that is too small, it won’t hold large workpieces well. Much bigger, and the jig takes up too much space. Two pieces about 3/4 in. square glued and screwed to both short ends, on either side of the base, complete the jig. The only construction detail is that the crosspiece on top should be a little shorter than the base is wide. Attach it flush with the left of the base piece (or the right if you’re a left-hander). This allows the board to act as a backer when sawing, so you never cut into your bench. To use the hook, align the bottom cross piece with the edge of the bench, or even clamp it in a vise. Put your workpiece on the hook and lean on it as you work. If the workpiece moves, lean forward on it harder. |

Work Smart
As pine dents easily, take care what you rest your box on. If your work surface isn’t perfectly clean, another piece of pine makes a good backer to avoid marring your freshly sanded box. Rubbery or soft mats won’t mar, but setting the nails will be a real chore, as the hammer will bounce back.
Carve the finger pull
I’ve seen nice finger pulls in many different sizes and shapes, so there’s no one way to do it. This one is a rounded acorn shape that’s a bit bigger than my finger. You’ll need a gouge to cut this one. Although I used a 12mm #5 straight gouge, almost any gentle sweep will do. So use what you have and make one to your own taste.
1. Mark the shape of the finger pull with a pencil. Practically speaking, it should have a deep end near the end of the top. This makes it easy for your finger to get a grip and pull the top open.
2. With the top on the bench hook, push or tap small cuts at a steep angle toward the end. Too much enthusiasm can break a chip all the way through to the end, so go lightly.

3. At the back of the finger pull, chop out the chips you started.

4. Sand the top to 220 grit as you did for the other pieces. A sharp gouge will leave a smooth surface in the finger pull, so you shouldn’t have to sand down in. Try not to oversand the bevels or the top may become too loose in the grooves.
Nailing the rabbets
If you clip 3d bright finish nails shorter (to about 7/8 in. long), they’ll work fine. If you prefer decorative nails with faceted heads, you can find them at specialty hardware outlets such as Whitechapel Ltd.
1. Mark pilot holes for the nails spaced evenly along the joint and 1/4 in. in from the edge. Although I mark for three nails, two or four nails would hold just fine. Take care not to place a nail right above a groove.

2. Make pilot holes using a 3d nail with the head cut off for a drill bit. This technique works well in soft woods and leaves a perfect-size hole. In any case, I’ve broken most of my small drill bits, so I have to use nails.

3. As 3d nails are 1-1/4 in. long, they are too long for the joints in this box. So clip the ends off, making them about 7/8 in. long. An advantage to this is that cut nails have a blunt tip that is less likely to split the wood.
4. Drive the nails flush with the surface using a small or brad hammer. Then set them with a nailset. Use a backing board of pine if your bench is not perfectly smooth to avoid denting or marring your box.

Finishing the box
You can leave the box unfinished if you like, but over time the top and edges will get a bit dirty from grubby fingers. A Danish oil and wax finish will also wear over time, but adds luster to the wood.
1. Brush or rub oil evenly on all the exterior surfaces of the box and the top. The pine will soak up the finish very quickly and endlessly, so ignore the directions on the can that recommend replenishing dry areas. Too much oil can even lead to blotching in pine.

2. Apply another even coat in a half hour or so and let it sit for a few minutes.
3. Wipe the surfaces dry if any finish hasn’t penetrated. Let the finish cure for a day or two. Rub all the surfaces with a dry cloth to burnish the wood.
4. If you prefer a bit of shine, apply a coat of clear wax.
 Excerpted from Strother Purdy’s book, Traditional Box Projects.
Browse the Taunton Store for more books and plans for making boxes.


Log in or create an account to post a comment.
Sign up Log in