
Easy scrapwood turning project: Earrings
Make beautiful last-minute gifts on the lathe while trimming down your scrap collection.
 Nov 15, 2018

Every woodworker I know has a bin stashed away somewhere full of little offcuts of beautiful exotic and figured woods, too small to use in most furniture pieces, but carefully saved anyway—just in case. Before long that stash becomes a heap, and it’s time to start looking for ways to pare it down. This easy turning project is a great way to use small pieces of wood and create beautiful last-minute gifts at the same time.

For each pair of earrings you’ll need:
- (2) pieces of wood, at least 2 1/2-in. x 2 1/2-in. x 1/4-in.
- (2) metal earring hooks and (2) 1/4-in. (or 7 mm) jump rings. These can be purchased at craft stores in bulk packages for a few dollars.
Tool wise, you’ll need:
- A lathe with a screw center (either a standalone screw center or a scroll chuck with a screw attachment will work) and a cup and point tail center.
- A spindle gouge.
- A drill press OR a hand drill and a drill chuck.
- A 1-in. Forstner bit, a 1/16-in. drill bit, and the drill bit that matches your screw center.
- A pair of calipers.
- A pair of needle nose pliers.
You’ll also need:
- Double-sided tape.
- A scrap piece at least 3 in. square and about 2 in. thick, with faces flat and parallel across the 2-in. thickness.
- A short length of 1-in.-diameter dowel.
Step 1: Prepare the Blanks
 |
 |
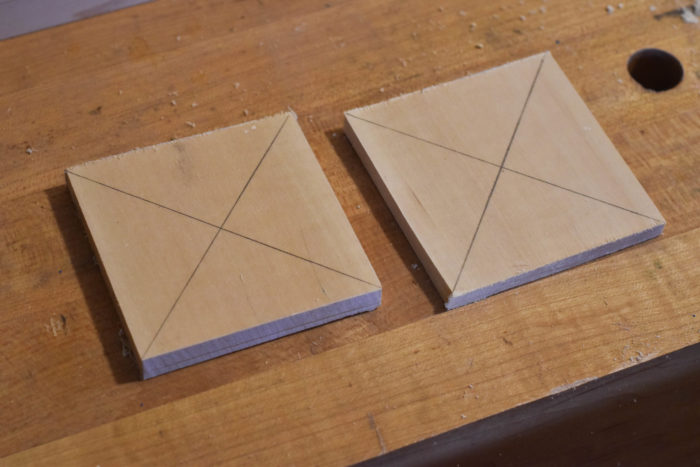
Each of your blanks needs to start with at least one side flat and smooth. The flat side is going to be the back, so if you’re using book-matched pieces, make sure it’s the outside of the book match that’s flat. With the grain running in the same direction, mark each blank for center on the smooth back side.

Now rotate the pieces 45° in opposite directions so that the grain on each runs perpendicular to the other. Make a mark 3/8-in. above center on both blanks. This is the center of the large hole in each earring.
Using the 1-in. Forstner bit, drill a hole through each blank, centered on the mark you just made. Drill in through the back to minimize blowout. (The surface on the front will be turned away in a moment.)
Step 2: Create the Tenon Chuck
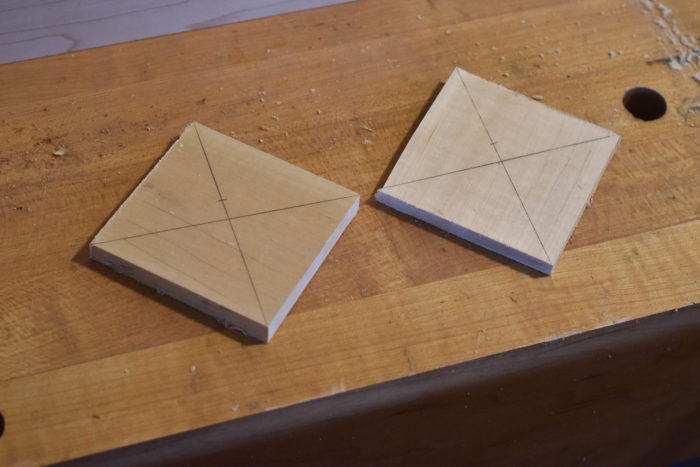
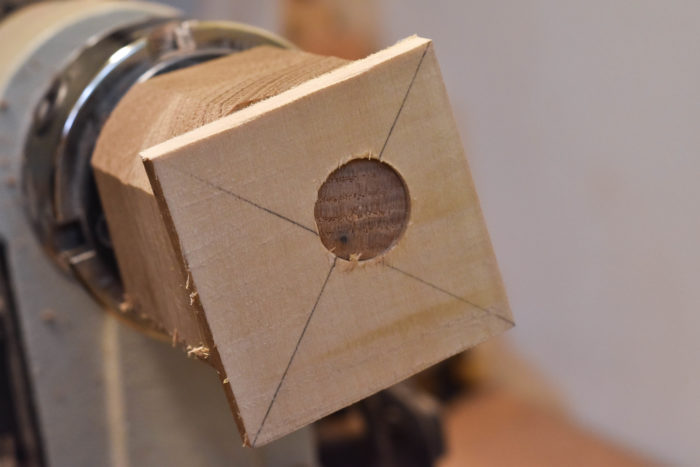
 On your 3-in.-square scrap piece, mark center and a 3/8-in. offset just like you did on the earring blanks. Drill small pilot holes at center and the 3/8-in. mark to help guide the larger bit, then drill holes to match your screw center’s diameter and length. It’s imperative that these holes are square to the surface, otherwise the wooden chuck may not seat correctly on your screw center chuck, and your earrings will come out wonky.
 Mount the wooden chuck to your screw center using the off-center hole. Make sure that the back of the chuck seats against the face of your metal chuck all the way around. When you turn the lathe on, the front surface of the wooden chuck should run true.
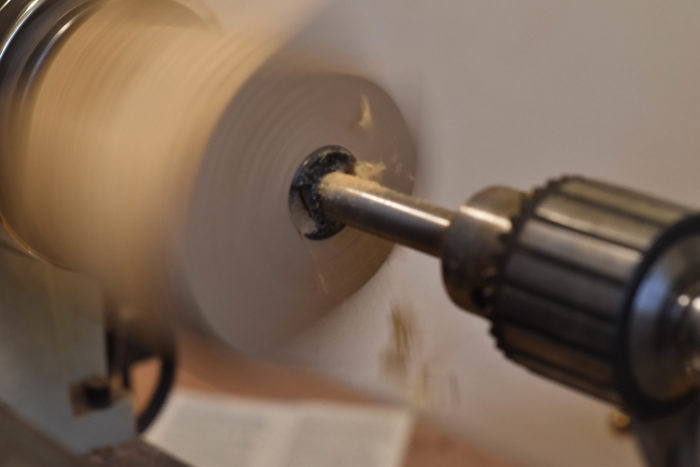 Next, mount the 1-in. Forstner bit in the drill chuck in your tailstock. With the lathe running, advance the tailstock until you’ve drilled a hole 1/2 – 3/4-in. deep. Be careful not to drill into your screw center.
If you don’t have a drill chuck, you can drill this hole on the drill press instead. Your scrap piece will need to be perfectly square, so you can transfer the center point and the 3/8-in. offset to the front of the blank accurately.
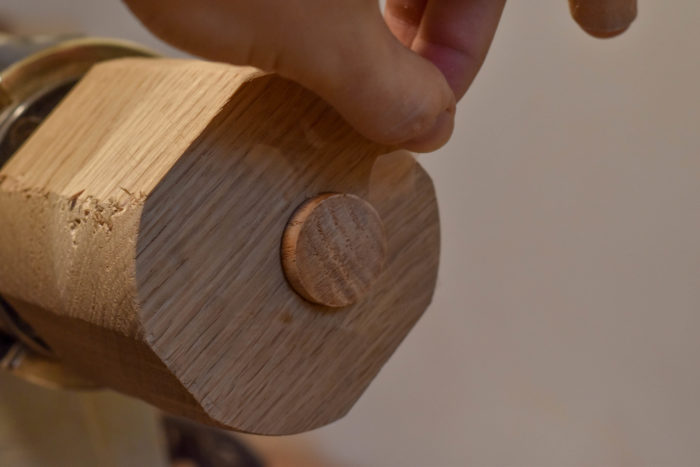
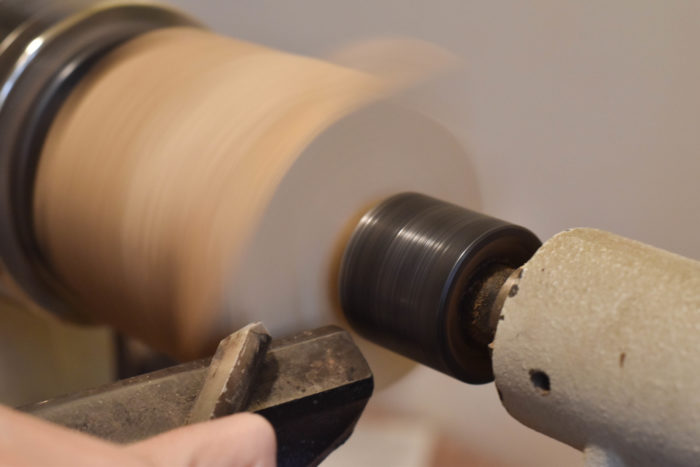
 Glue a short length of 1-in. dowel into the hole, being careful to avoid glue squeeze out. The dowel only needs to protrude about 1/4 in. from the face of the chuck. You can use your tailstock as a clamp to make sure the dowel seats fully.
Remount the chuck on the centered screw hole and knock down the corners to save your knuckles from accidents later.
Step 3: The Fun Part
 |
With the wooden chuck mounted in the centered screw hole, apply doublesided tape to the face of the chuck. I like to make a triangle of tape around the tenon, being sure to get good coverage without letting the tape pieces overlap. |
 |
Turn the lathe on and mark the new center on the tenon with a pencil. |
 |
Make center-marking lines on the front face of the earring blanks. Mount the first blank on the tenon chuck, with the flat back against the double sided tape. Try to align the center of the blank with the center pencil mark on the tenon. The closer your blank is to the final diameter you’re going for, the more accurate this alignment needs to be. |
 |
Secure the blank with a cup and point tail center.
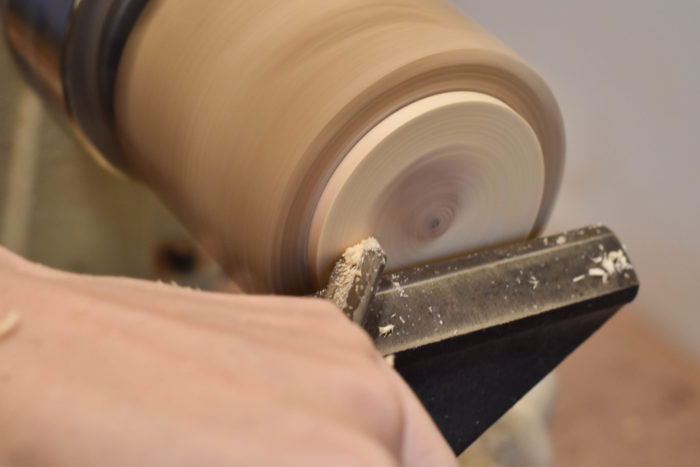
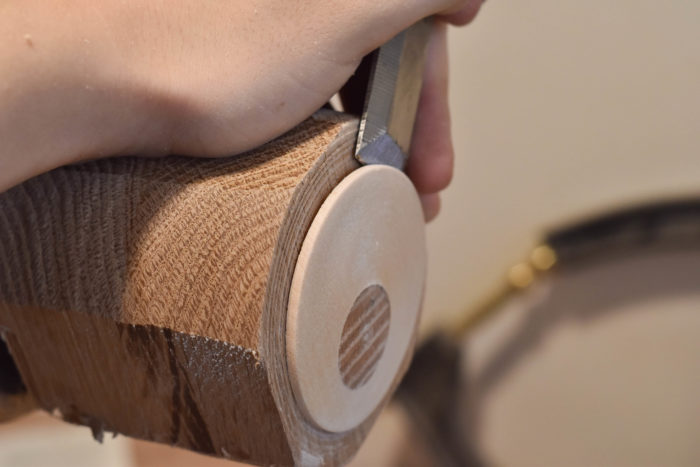
Turn on the lathe. Using the spindle gouge with the flute rotated to between the 10 and 11 o’clock positions, use light scraping cuts to knock the corners off the blank. |
 |
Use the same scraping cuts to true up the front face of the earring. |
 |
With the flute rotated almost completely to 9 o’clock, finish bringing the earring to round and establish an edge that’s square to the back. |
 |
Using a pair of calipers set to 2 1/4-in., check the diameter of the earring as you go. Continue making slicing cuts on the shoulder until the earring is the correct diameter. |
 |
Now remove the tailstock and adjust the tool rest so it spans the front of the earring and is less than 1/8-in. away. The double sided tape should keep the earring on the chuck, but if something goes wrong, the tool rest will keep the earring from flying across the room. |
 |
Use scraping cuts to finish flattening the front of the earring, then create the domed front. I like my earrings to be between 3/16-in. and 1/8-in. thick at the center and about 1/16-in. thick at the edges. |
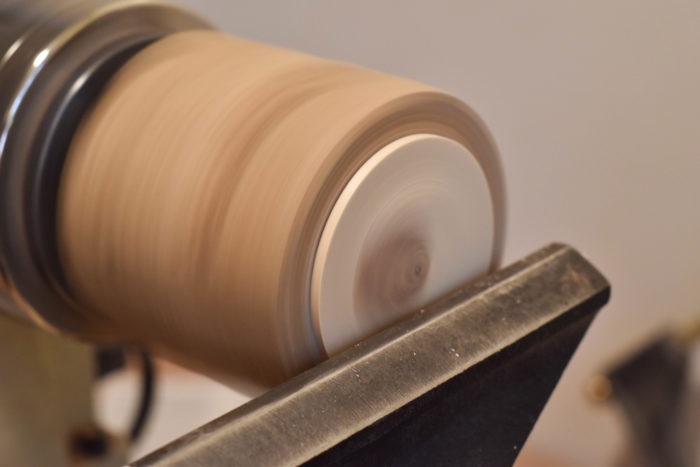 |
If you’d like to do any decorative details on the lathe, like parting lines or chatter work, now is the time to do it. I created the detail on the cocobolo earrings in the main image using the point of a skew. |
 |
Move the tool rest out of the way, and sand the face and edge, and soften the corner. |
 |
Use a chisel to pop the earring off the lathe. Make sure to enter near the end grain, to avoid breaking the thin wood.
Sand the pencil marks off the back and finish sanding the edges and surfaces that were inaccessible on the lathe. Then it’s time to move on to the second earring. |
Step 4: Making Them Match
 There are a couple of tricks to getting the earrings to match. First, set the calipers to the actual diameter of the first earring. It’s more important that the two are the same than that they’re both exactly 2 1/4-in.
 When you’re doming the face of the second earring, it’s helpful to notice that the front face of the tenon is a road map for creating the same thickness and curvature as the first earring. While the blank is still oversize, the gouge will chatter as it flips between solid wood and air. Once the blank has been brought down to match the curve of the tenon’s face, however, the chatter will stop and the gouge will cut smoothly. Cut just until the blank matches the tenon, and the two earrings will match in curvature.
You can also use the first earring as a guide to match the thickness at the outer edge. Just turn off the lathe and compare them from time to time, remembering to leave a little extra thickness for sanding on softer woods.
Step 5: Finishing and Findings
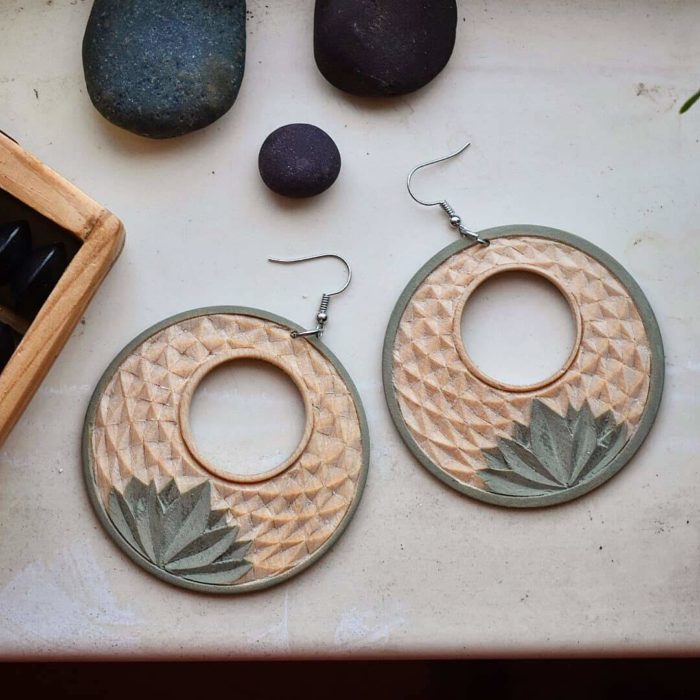
If you want to do any decorating off of the lathe, like coloring, carving, etc. now is the time to do it, followed by your finish of choice.
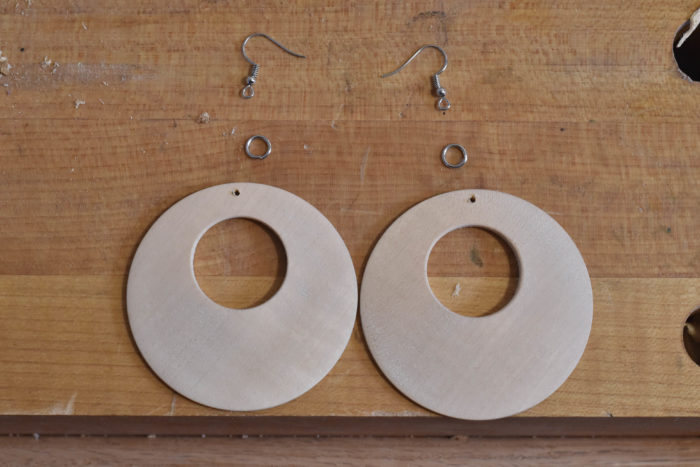 Now the hardware, or as they’re called in the jewelry industry, the findings. Using a 1/16-in. drill bit, drill holes about 1/8-in. from the edge of the earring to receive the jump rings. Using needlenose pliers, open the jump rings and feed them through the earring and the metal hooks. The hooks should point back from the wooden components when hanging naturally. To make that happen, you can either twist the hooks 90° from their eyes, or you can add a second jump ring. Some metals are too brittle to twist without breaking, so make sure you buy some extra findings if you want to test this look. Once the hooks are attached, close the jump rings back up and your earrings are complete!

More great scrapwood projects on FineWoodworking.com:
- Turned Ornaments by Michael Sage #120–Sept/Oct 1996 Issue
- Handmade Gift: Tea Light Candle Holder by Christian Becksvoort
- Sleek Box with a Sliding Lid by Michael Cullen #255–July/Aug 2016 Issue


Log in or create an account to post a comment.
Sign up Log in