
Box Lids Don’t Need Hinges
Three ways to top a box without using hinges.
 Apr 06, 2021

I’m not a fan of box hinges. I find them clunky. Still, the lid needs to stay on the box. For the most part, I use one of three techniques to secure the lids for my boxes: I drop the lid into a rabbet, turn the lid into a box that fits over the bottom, or use a liner inside the bottom to grab the top. Occasionally, I do away with the lid altogether and use a drawer or two instead.
Drop the top into a rabbet
I love this method of making a lid without hinges. It’s wonderfully simple, but can be used to create elegant lines and depth, resulting in a more appealing box. The key to an attractive lid made this way is to cut a rabbet that’s shallower than the lid is thick, so the lid sticks up above the top edge of the box. For very small boxes, like the one shown below, I cut the rabbet 3/16 in. deep and made the top 1/4 in. to 5/16 in. thick, because I prefer the lid to stick up more than 1/16 in., but less than 1/8 in. As for the rabbet’s width, it can be as narrow as 1/16 in. (in sides that are just 3/16 in. thick) or up to half the side’s thickness.

Because this is such an uncomplicated lid style, it’s also quite easy to make. Before I cut the sides to length, I cut the rabbet for the top (and the bottom, too) with a dado set at the tablesaw. In the past, I would use a rabbeting bit in my router table. I stopped, because it often chipped out the rabbet’s corners when cutting against the grain. The dado set never does that. After the rabbet has been cut and the box is glued together, I fit the lid. I use both solid wood and plywood for lids. Solid-wood lids need more room for expansion and contraction, so keep that in mind when fitting them.
 |
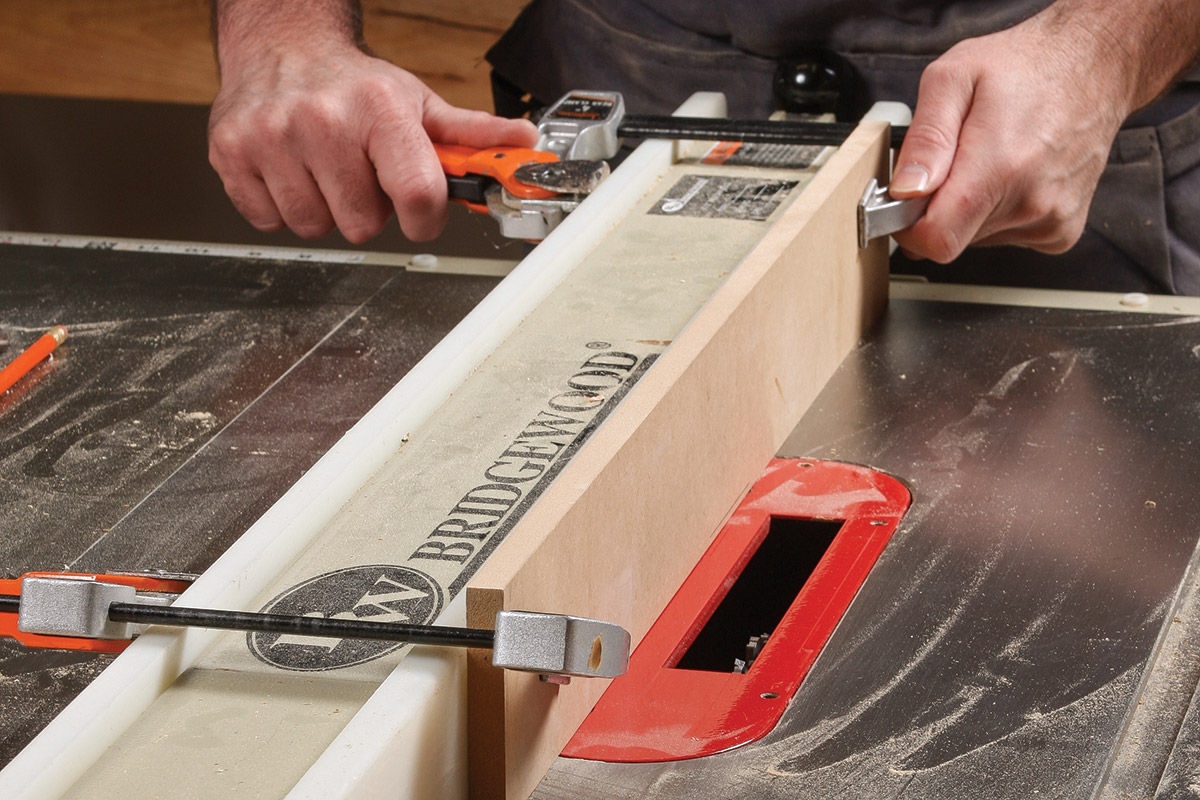 |
| 1. Mark the depth of the rabbet on the auxiliary fence. | 2. Clamp the auxiliary fence to the tablesaw’s rip fence. |
 |
 |
| 3. Raise the dado head until it reaches the mark on the auxiliary fence. | 4. Set the fence to cut the width of the rabbet. |
 |
 |
| 5. Cut the rabbet. | 6. Use a shooting board to fit the lid. |
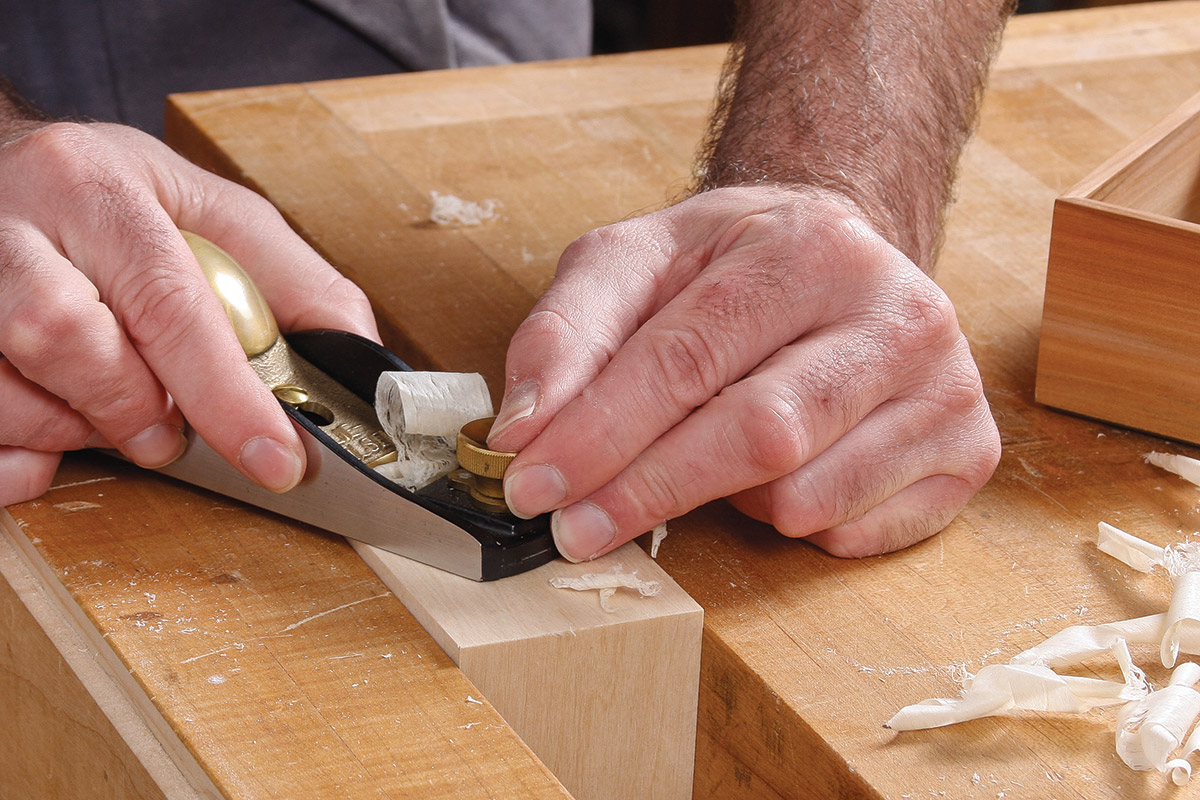
To fit the lids, I first cut them just a hair or two oversize in length and width at the tablesaw. Then, I trim them to fit one shaving at a time with my shooting board and a handplane. This is a nice way to do it, because if the box is a bit out of square, you can put a shim between the lid and the shooting board’s fence to create sides that run parallel to the box’s sides (a lid that’s out of square just as the box is). You end up with even gaps around all four sides of the lid. It looks good, and no one will notice that the box is slightly out of square. Eventually you’ll forget that it is, too.
Shooting Board

Put a box inside a box
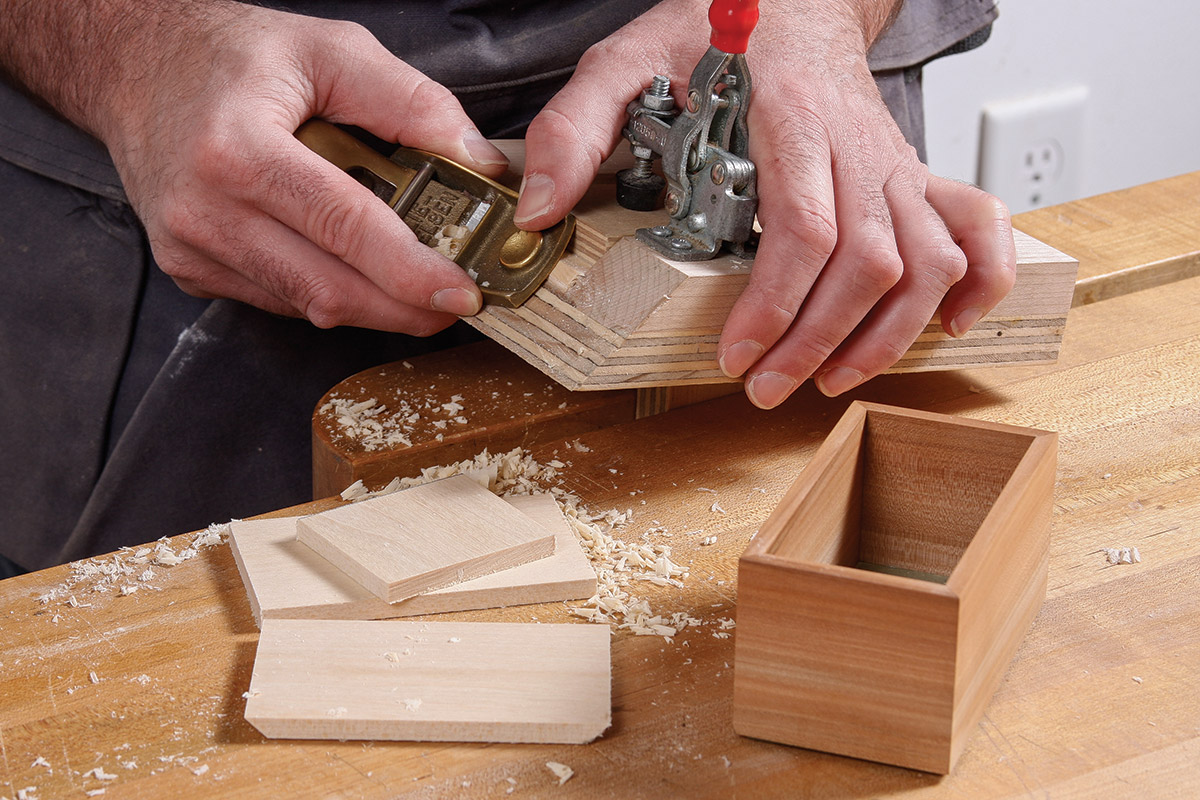
I first learned this technique for making a box from my friend and former colleague at Fine Woodworking, Mike Pekovich. It’s brilliant for its simplicity. It’s one box made from two boxes. The top box is open on the bottom. The bottom box is open on the top and fits into the top box. Wait, that sounds complicated, but its really not. Here’s how to make it.

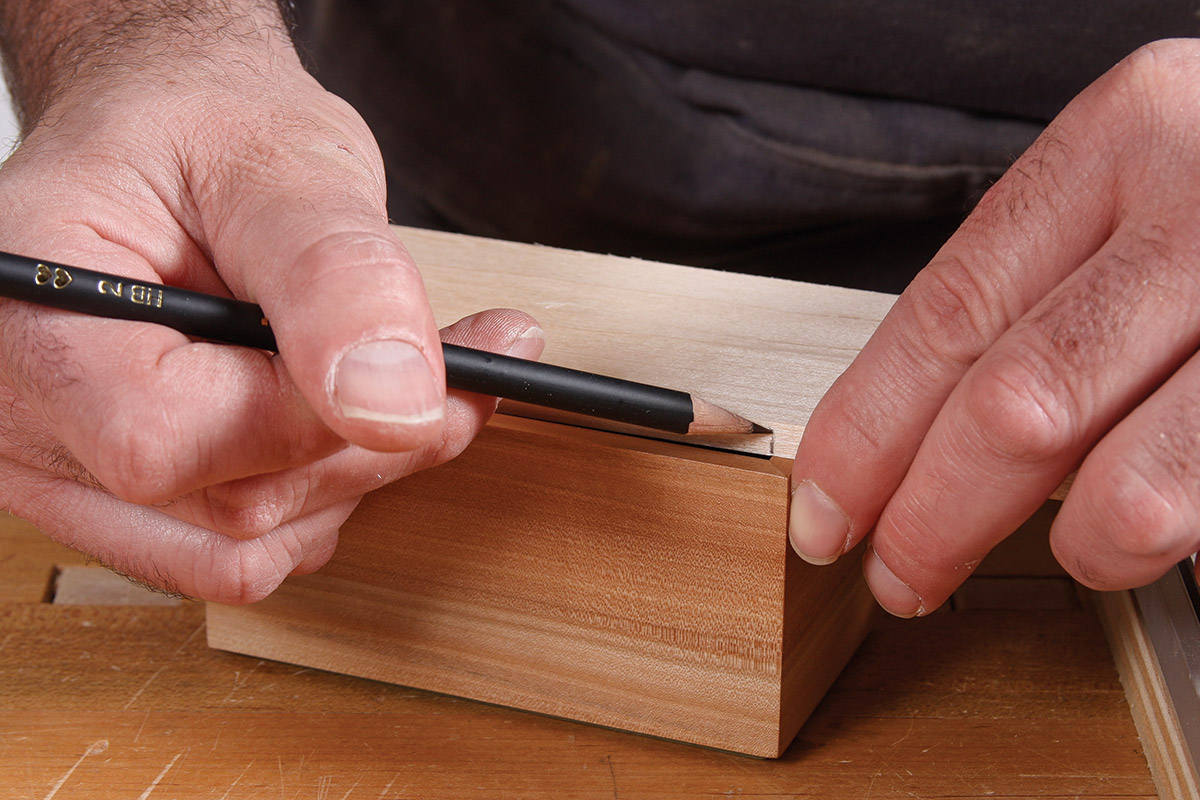
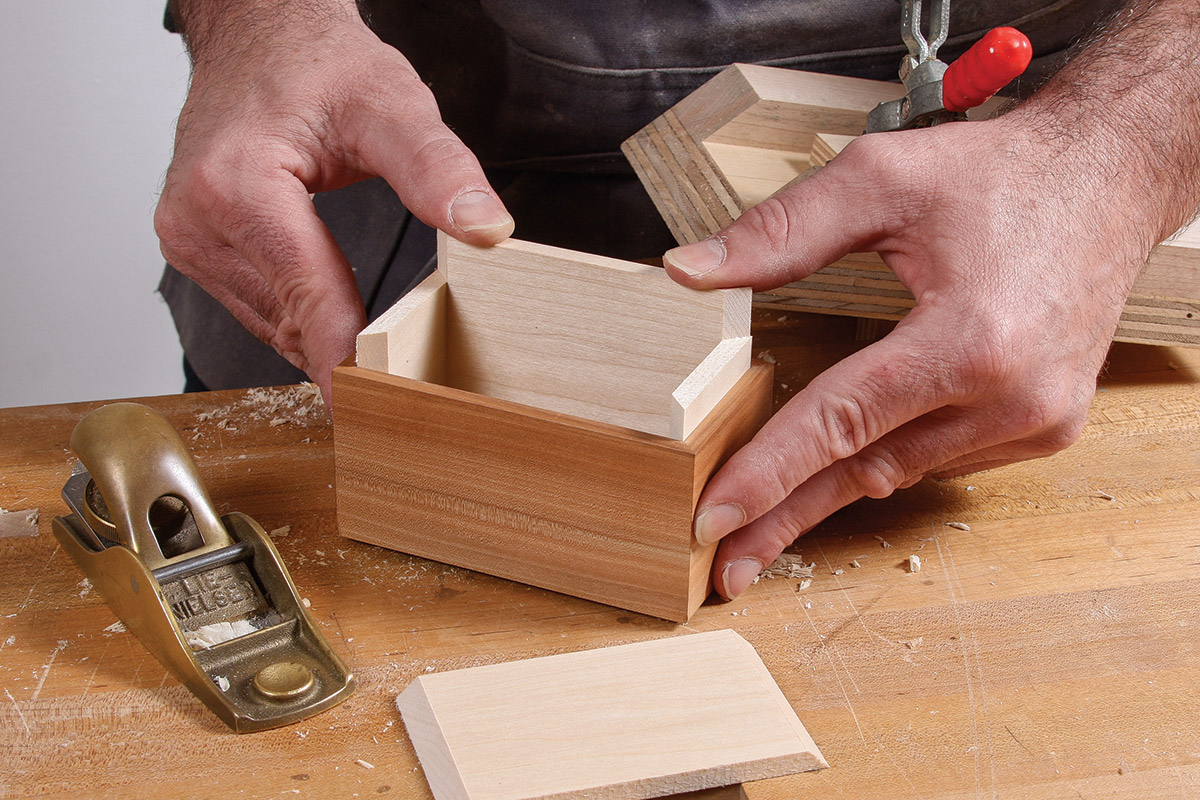
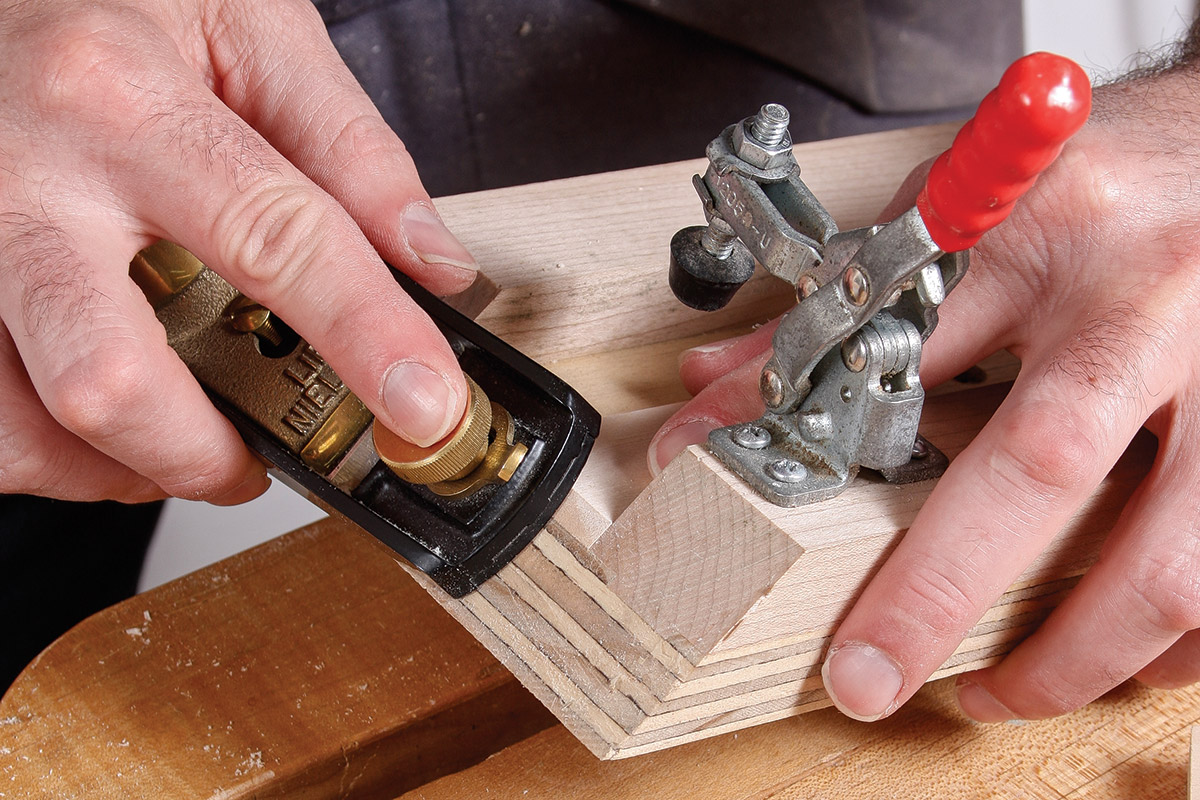
I start with the lid. The four sides are mitered together, and the top panel fits into a rabbet. After the lid is made, the bottom is made to fit it. Do this by fitting each side of the bottom into the lid one at a time, with square ends. They should just slide in, but not loosely. The action should be smooth. Next, miter the ends and glue the sides together. Let the glue dry overnight and pull off the tape. Try to fit the bottom into the lid. It won’t fit. Never does. So, break out a handplane and plane the sides, removing equal amounts from opposite sides, until the bottom fits into the lid. When the fit gets close, I set the bottom on my bench and put the lid on top of it. What I want is the lid to float slowly down, cushioned by air. When you’ve got that, you’re done.
 |
 |
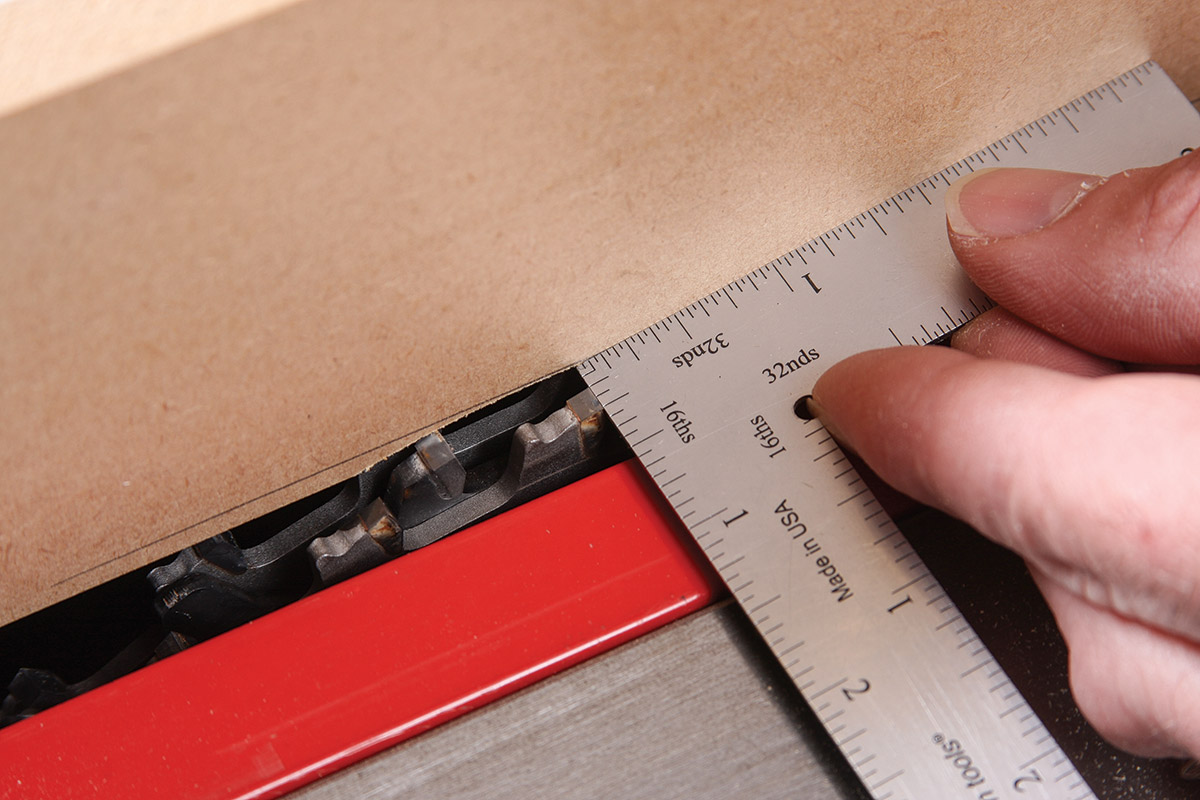
| 1. Measuring from inside corner to inside corner, mark the length of the side of the box. | 2. Trim the sides of the bottom box pieces to fit into the lid box. |
 |
 |
| 3. Miter the sides. | 4. Test the fit by placing the bottom box sides into the lid. |
 |
 |
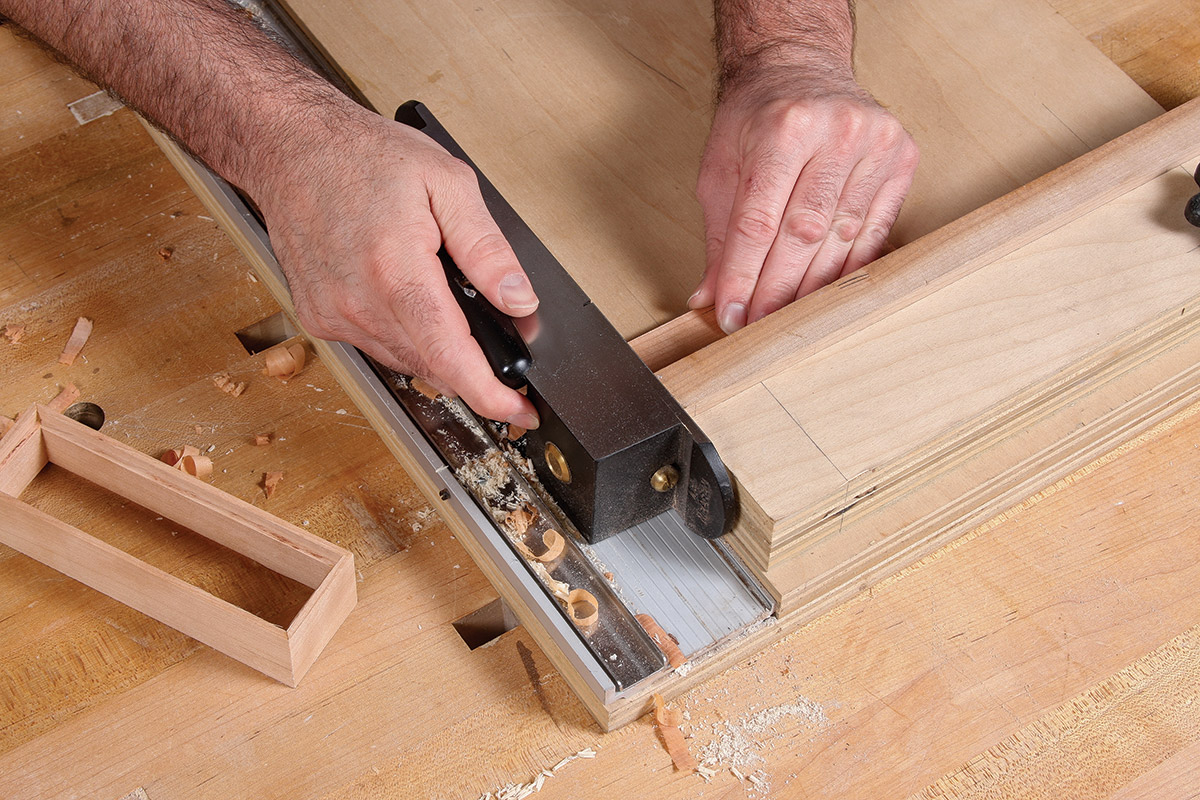
| 5. Plane the sides to fit into the lid box. | 6. Slide the bottom box into the lid box. |
Use a liner inside
This technique is probably as old as the hills, and I suspect that it’s still in use because it works really well. I like it for that reason, but also because it’s quick and easy to do, and looks pretty darn snazzy to boot. It’s the perfect choice when you want the grain on the sides to flow onto the lid, because the lid is cut free from the sides after the box has been glued together. The liner is then fit into the box bottom and sticks up a bit past the top edge of the sides. The lid fits snugly over that lip and sits securely in place.
The work for this type of lid doesn’t begin until after you’ve glued the box together. I also glue the bottom and top into their rabbets as well. You should have a sealed-up box. The first thing to do is cut the lid free from the box. Until a few years ago, I had seen this done only at the tablesaw. That’s how I did it, too. It works, but no matter how well set up your saw is, and no matter how perfectly made the box is, there always seems to be small steps at the corners, because the tablesaw blade did not cut in the same plane as you went around the box. Now I do it at my bandsaw, because I watched Mike Pekovich do this, and the lid and box go back together perfectly. It’s the best way to do it, assuming you have a sharp blade on your saw and it’s set up well. A bandsaw does leave a rough surface behind, so after you’ve cut the lid free, put a sheet of sandpaper on your tablesaw and sand the edges with a circular motion. I often start at 220-grit and move up to 400-grit. If the machine marks are particularly stubborn at 220-grit, I drop down to 180-grit, get rid of them, and then move back up.
 |
 |
| 1. Cut the lid off the box at the bandsaw. | 2. Sand the cut edges with a circular motion. |
 |
 |
| 3. Using a miter shooting board, miter the sides of the liner. | 4. Fit the liners into the box. |
Here’s some advice about how to sand the edges and not muck them up. Sandpaper is a cutting tool, and like every other cutting tool, you’ll get the best results when you let the tool do the cutting. Don’t mash down on the box. Hold it gently, and sand it in about as big a circle as you can. Also, like every other cutting tool, if sandpaper is dull or its “teeth” are clogged with dust, it won’t cut efficiently. Get out a new sheet.
After the edges are nice and clean, it’s time to fit the liner sides. You should have a miter shooting board to do this. It’s the best way to get the liners to fit with just the right amount of friction and tight joints. Start with a long side, fitting it with square ends and then mitering it. It should slide in with a hint of resistance but should not bow out in the middle. Do the other long side next. Now fit one of the ends. It should be tight but not so tight that it’s hard to push in. Finally, fit the second end. Be careful here. I can’t tell you how many times I’ve gotten the fit just a hair too tight and was unable to get the liners back out without extreme difficulty. As a precaution against this, I now plane both faces of the liners, and make sure the top edges are planed, too, before I fit the liners. This way, if they do get stuck, they are finished.
 Excerpted from Matt Kenney’s book, 52 Boxes in 52 Weeks.
Browse the Taunton Store for more books and plans for making boxes.


Log in or create an account to post a comment.
Sign up Log in